The ideas here run from a single MIDI controller on a desk to a rack of analog outboard gear and a drum recording space, and the spread in cost and effort is just as wide.
What picks yours is the room you can leave set up: a space you can sit down in and hit record within a minute will get used, while one you must assemble each time will not.
1. Computer Setup
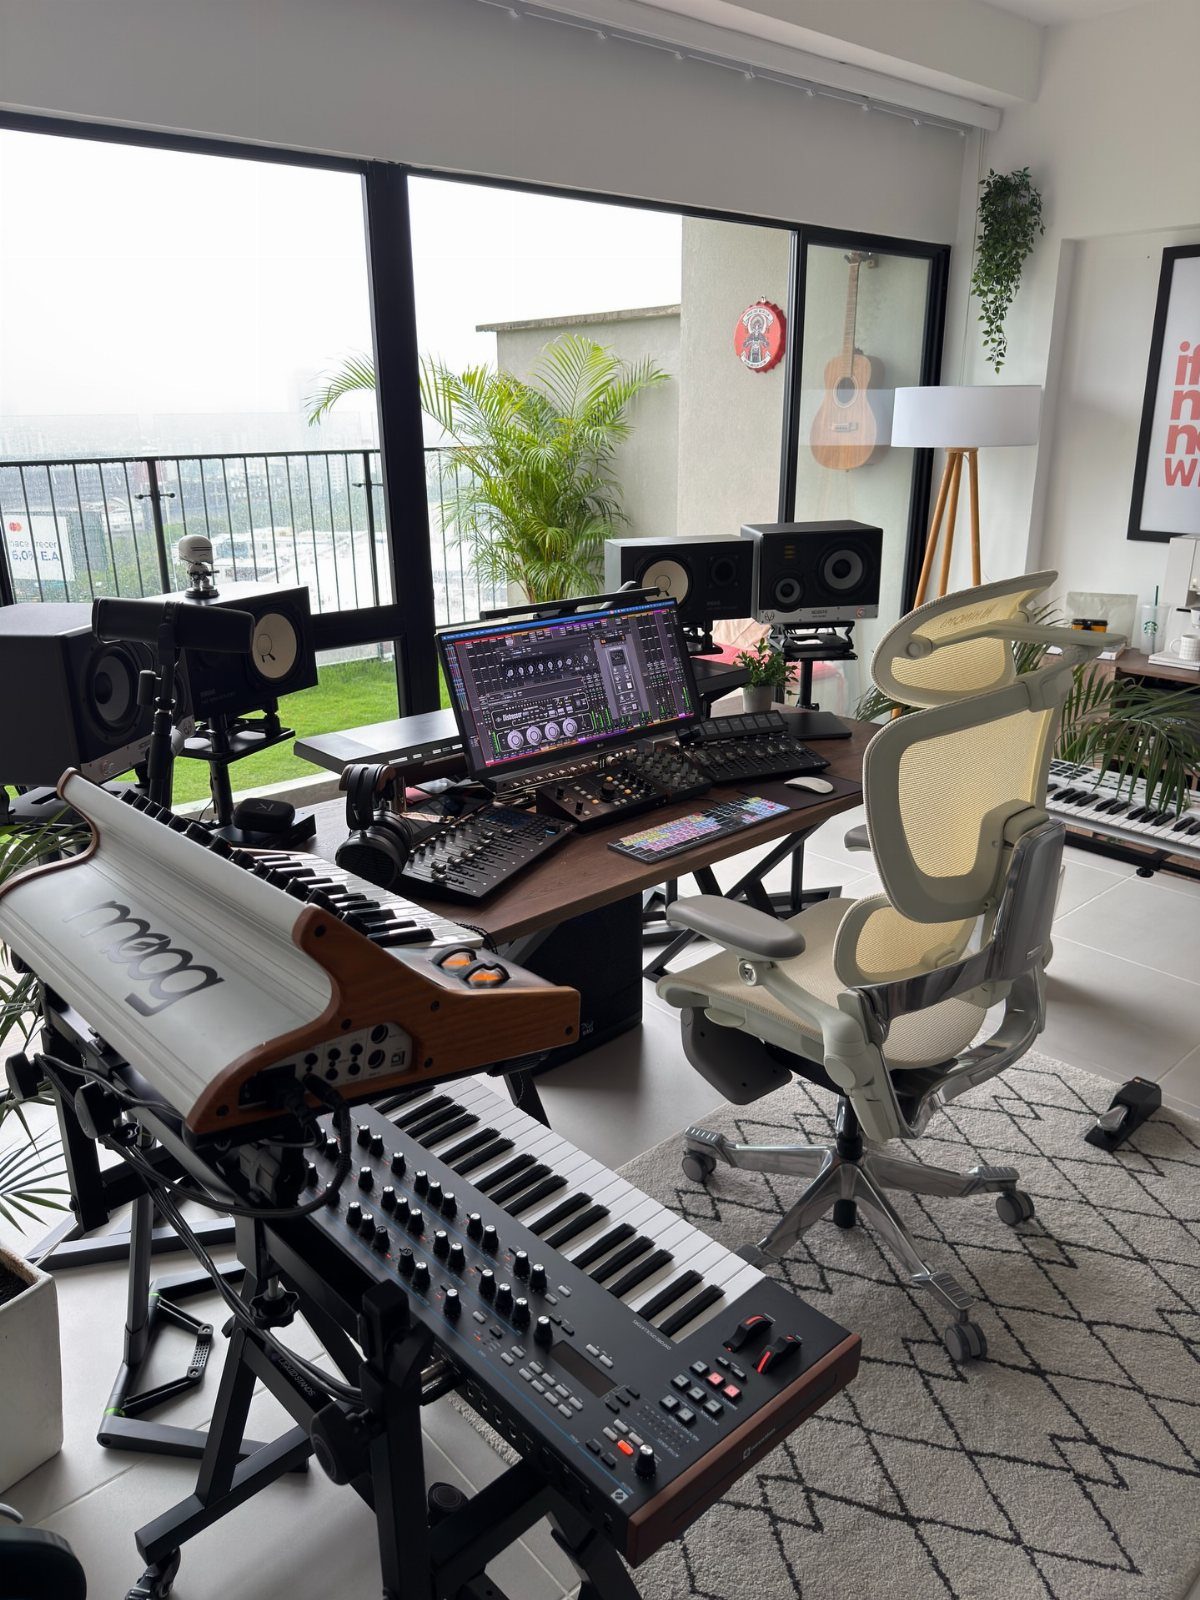
A bright room with a balcony view is a good reason to put the computer on the desk first and build everything else around it.
The screen, the keyboards and the monitors all hang off that one machine, so a weak computer slows every other purchase down.
On a beginner budget, I would spend on processing power and memory before anything cosmetic, since audio software gets sluggish fast when tracks stack up. A single large monitor is enough to start.
The chair matters more than people expect. Long sessions at a desk go better with a seat you can adjust, so buy one that fits you.
2. Studio Monitors
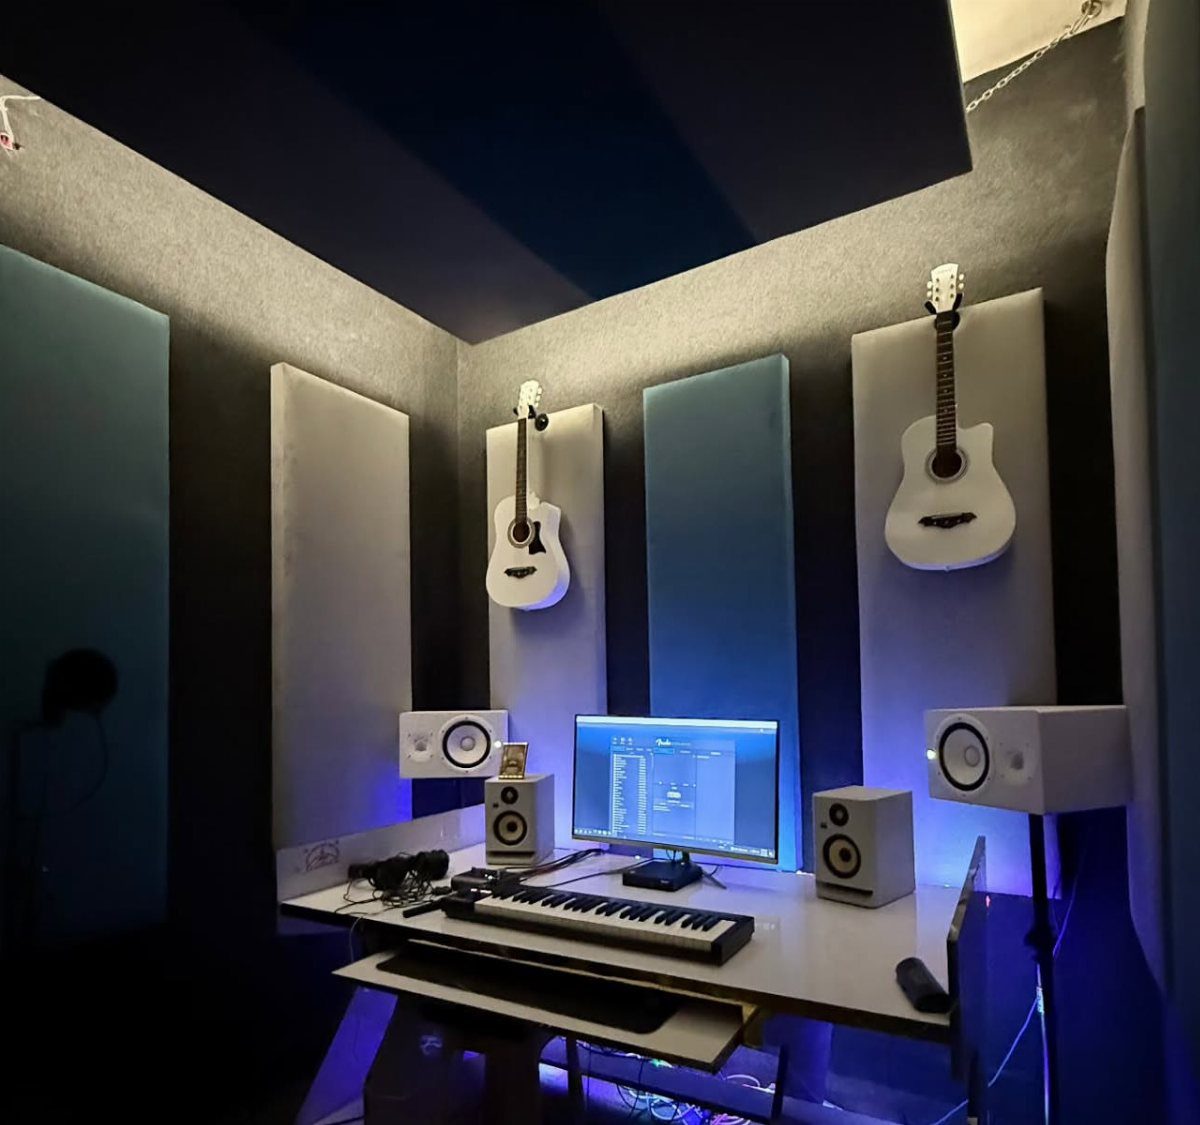
Mixing on laptop speakers or earbuds gives you a false picture, and that’s why a pair of studio monitors belongs on the desk early.
They’re built to sound flat, which means you hear what’s actually in the mix instead of a flattering version.
Set them on the desk at ear height, angled in toward where your head sits, with a clear gap between them and the wall behind. Keep the pair evenly spaced from your chair so the stereo image stays honest.
Monitors in a bare room still sound off, so I’d pair them with wall treatment as soon as the budget allows.
3. MIDI Controller
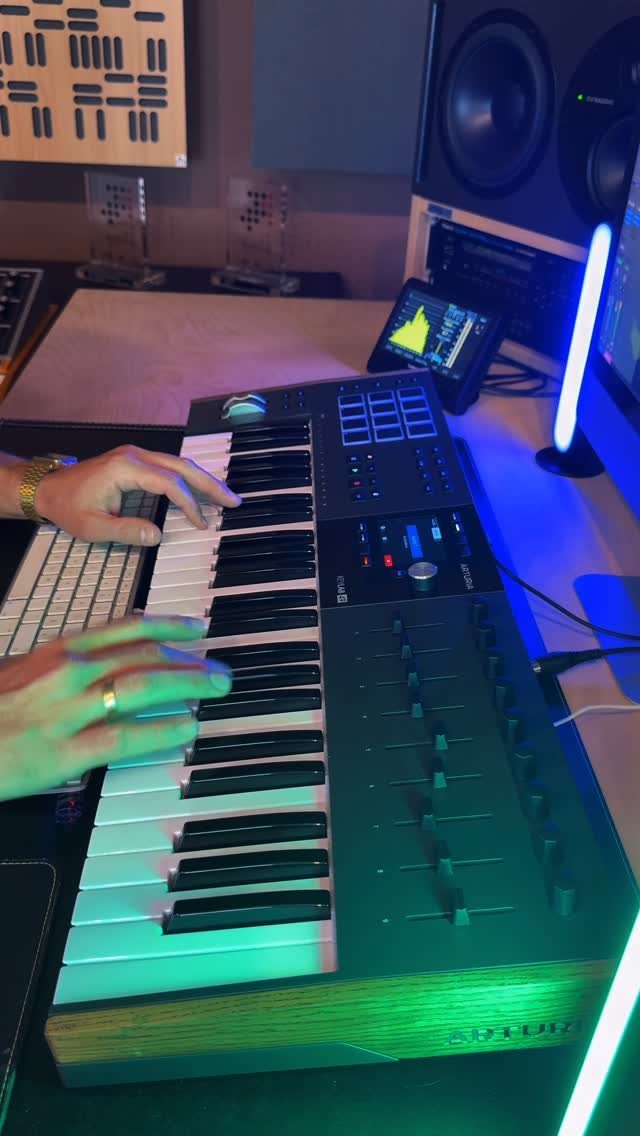
Clicking notes into a screen with a mouse works, but a MIDI keyboard controller makes writing a melody feel like playing. Keys, knobs and pads let you play parts in and adjust sounds by hand.
For a beginner, I’d pick a compact model with a modest key count, because desk space is usually the limit. Keep it directly in front of the computer keyboard so your hands move between them without reaching.
It makes no sound alone; it only sends notes to your software. Budget for that software alongside the controller.
4. Acoustic Panels
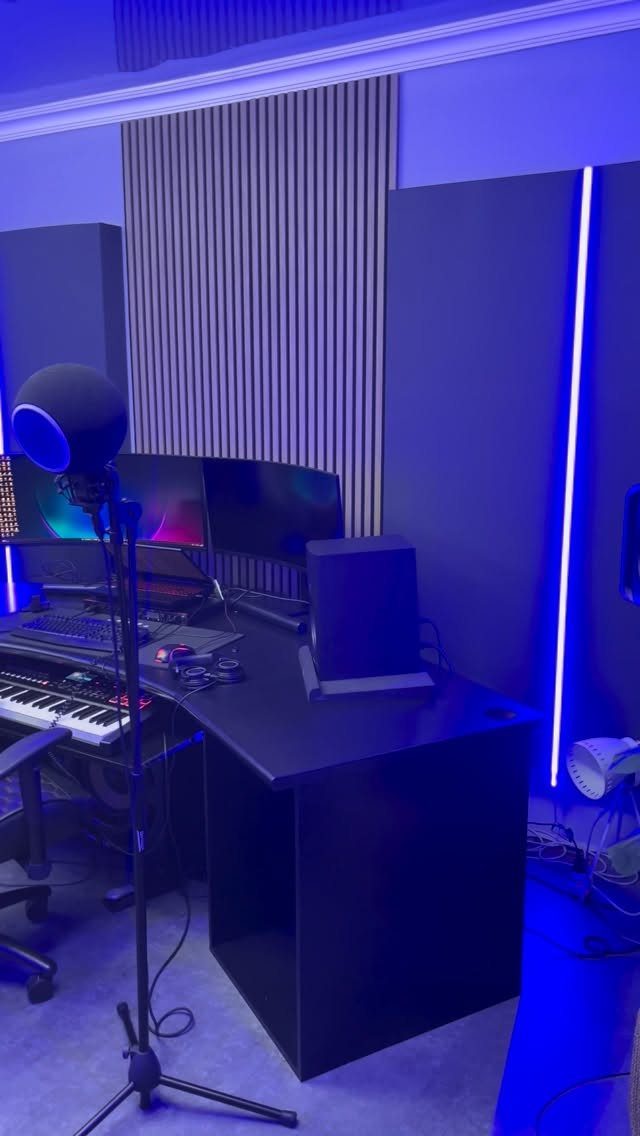
Bare walls bounce sound around, and you hear it as muddy bass and blurry detail in whatever you record or mix. Acoustic panels soak up part of that reflection so the room stops coloring the sound.
Start with the wall behind the monitors and the side walls at ear height, where the first reflections hit.
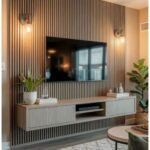
Grey fabric-covered panels are easy to hang and read as décor, and slatted wood adds a different texture if you want a warmer look.
A few well-placed panels beat covering every surface. Add more only if the room still sounds echoey.
5. Portable Isolation Booth
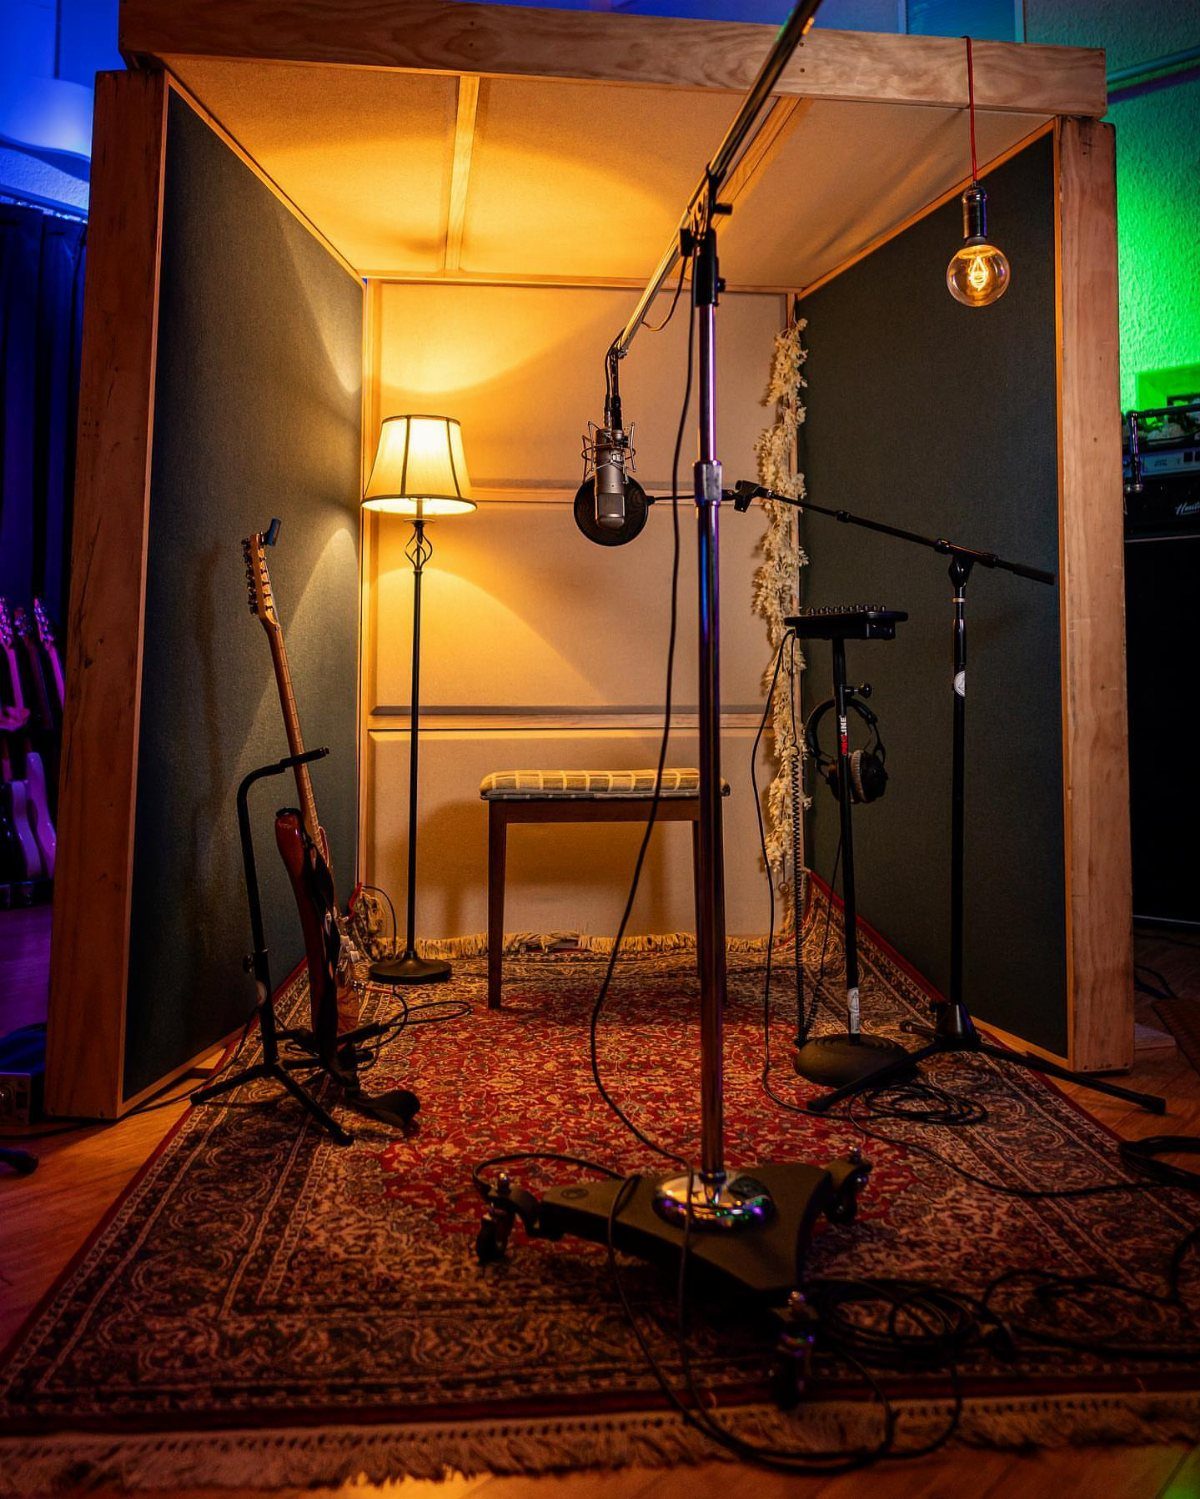
A portable isolation booth is a small enclosed frame lined with acoustic panels that you stand a mic inside, so the room’s echo stays out of the recording.
It suits renters, since it moves when you do and needs no construction.
Put a rug on the floor, add a lamp so you can see your music or strings, and keep the mic at a comfortable distance from the panels. It works for guitar and vocals alike.
Expect a tight fit and some stuffiness during long takes. Leave the door or front open between takes for air.
6. Finding a Space
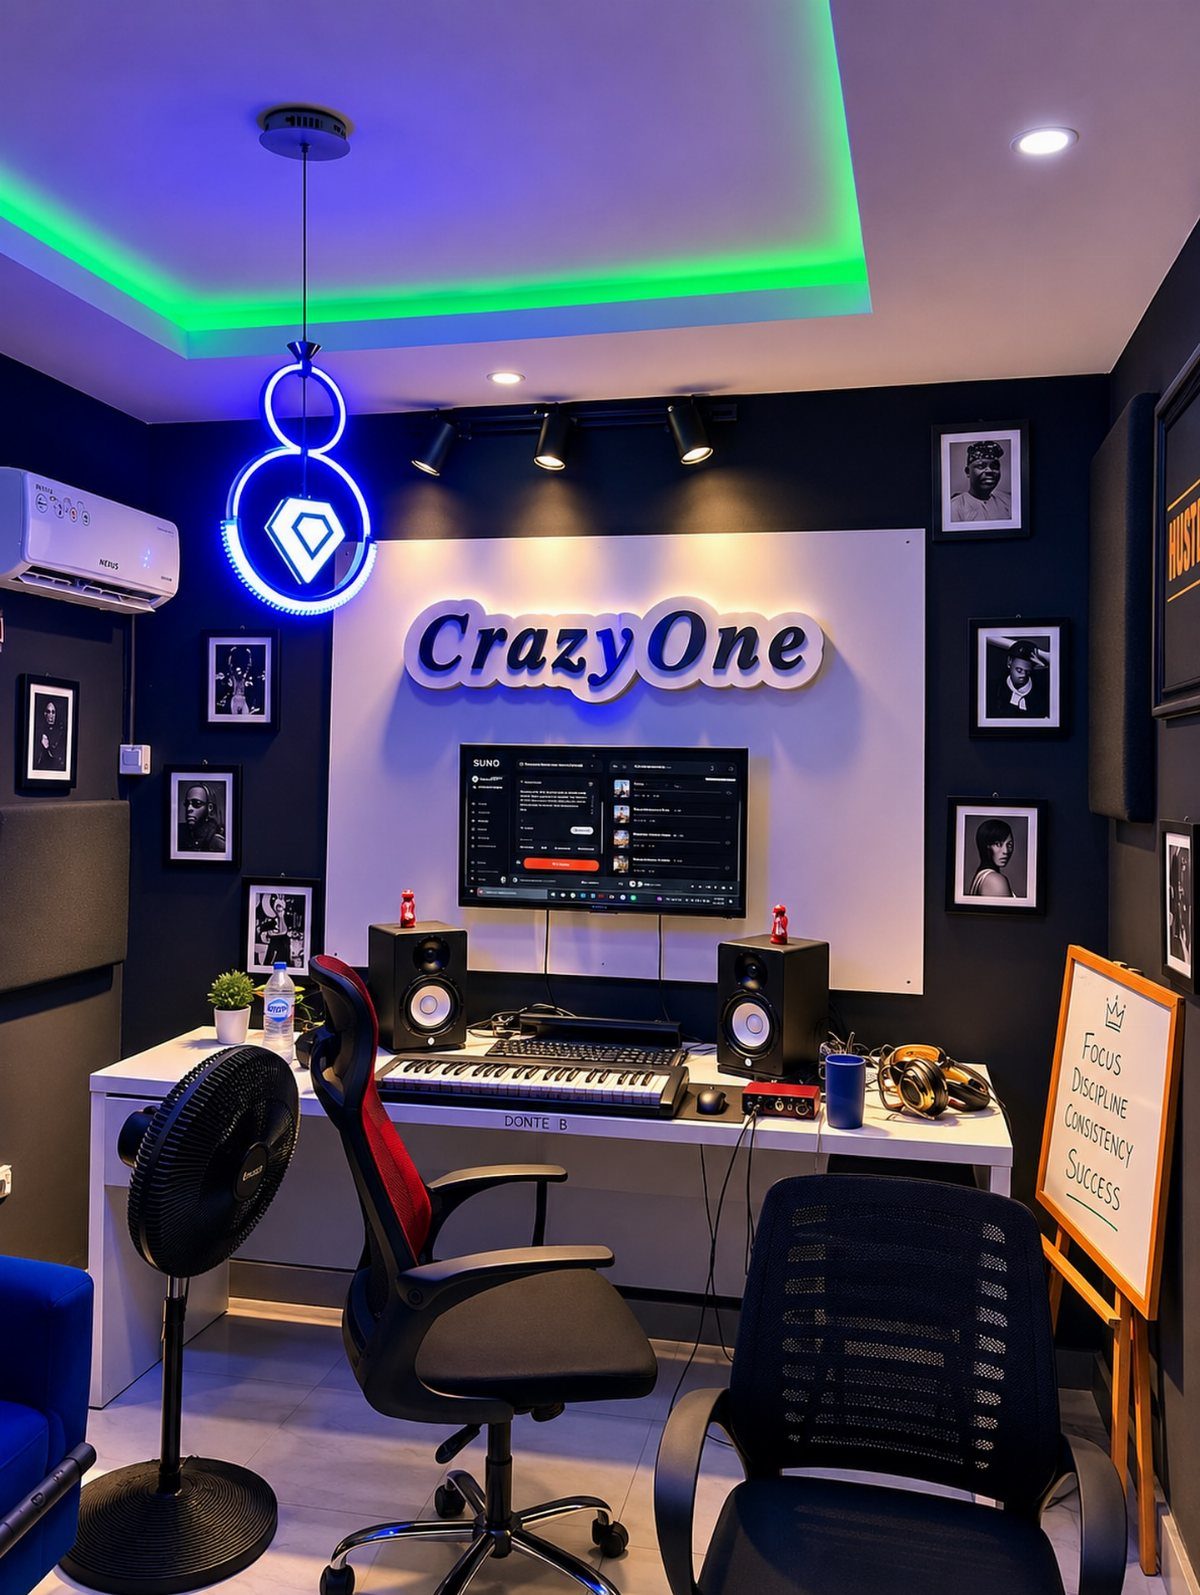
Before buying any gear, choose where it will live.
Pick a room you can leave set up, because a studio you must assemble each time gets used less.
Lighting is the cheapest mood tool here. Colored LED strips set a tone, and personal touches make the room yours, so add them early.
7. Software Plugins
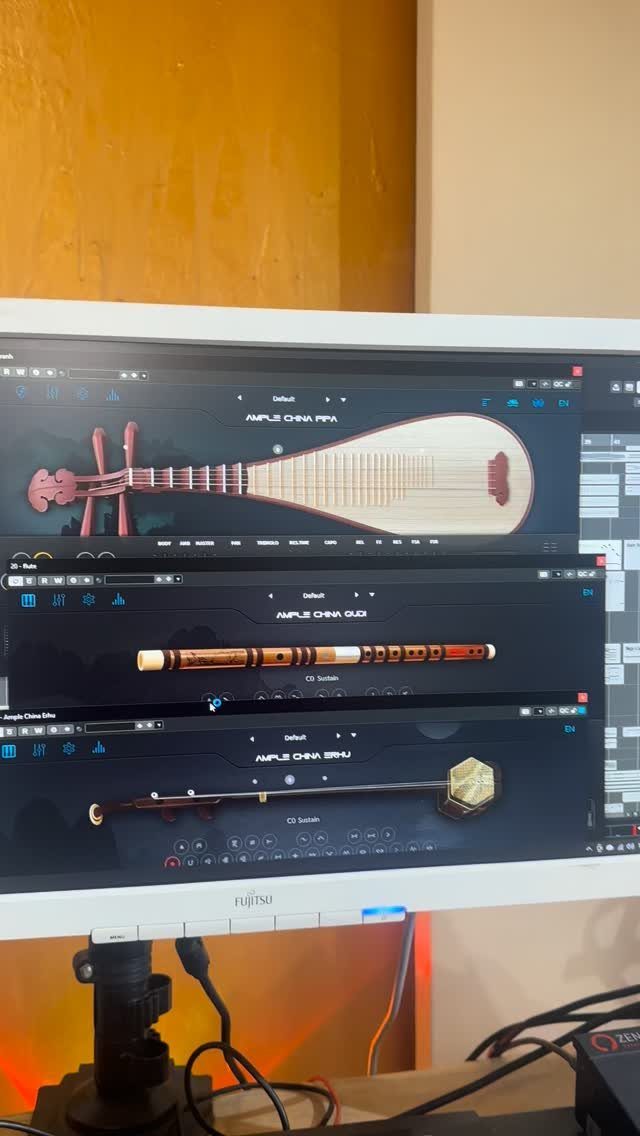
Third-party plugins are where a home studio gets its personality, and the choice is enormous.
A single sample library like Ample’s China Pipa, Gudi or Erhu can stand in for an instrument you would never have room to own, and most cost far less than the real thing.
Buy for a sound you need, not because a bundle looks big. Most developers offer demos, so try one inside a real project before paying.
Add plugins slowly. A beginner who learns three well will finish more songs than one who owns 300.
8. Multi Instrument Production Desk
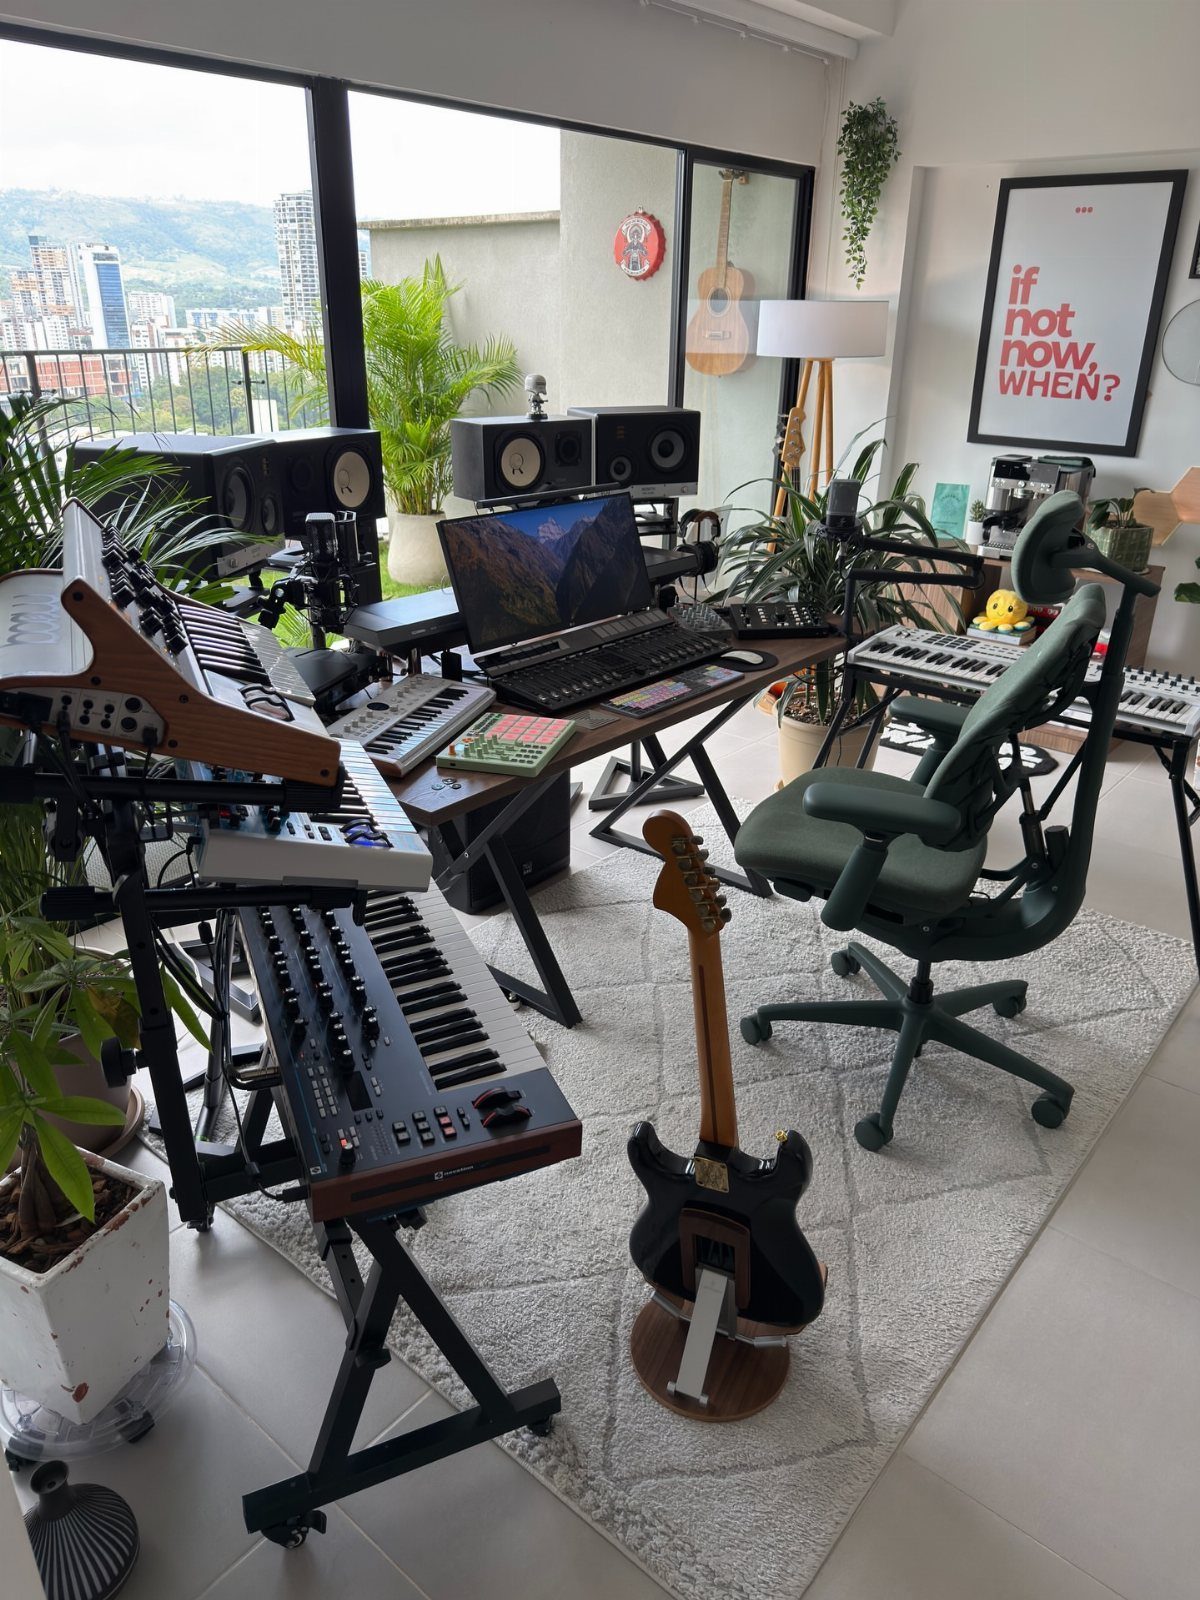
Once a second instrument joins the setup, the desk needs a plan.
Keep the laptop and monitors centered, put the main keyboard directly in front of you, and leave the guitar on a stand within arm’s reach so you can grab it mid-idea.
A stand beats leaning it on a wall, and a second keyboard works best on a lower shelf or stand so it doesn’t block the screen.
Tight on room? Skip it until the first one is fully learned.
I like this layout because it keeps every instrument one move away, which keeps ideas from getting lost.
9. Analog Outboard Gear Rack
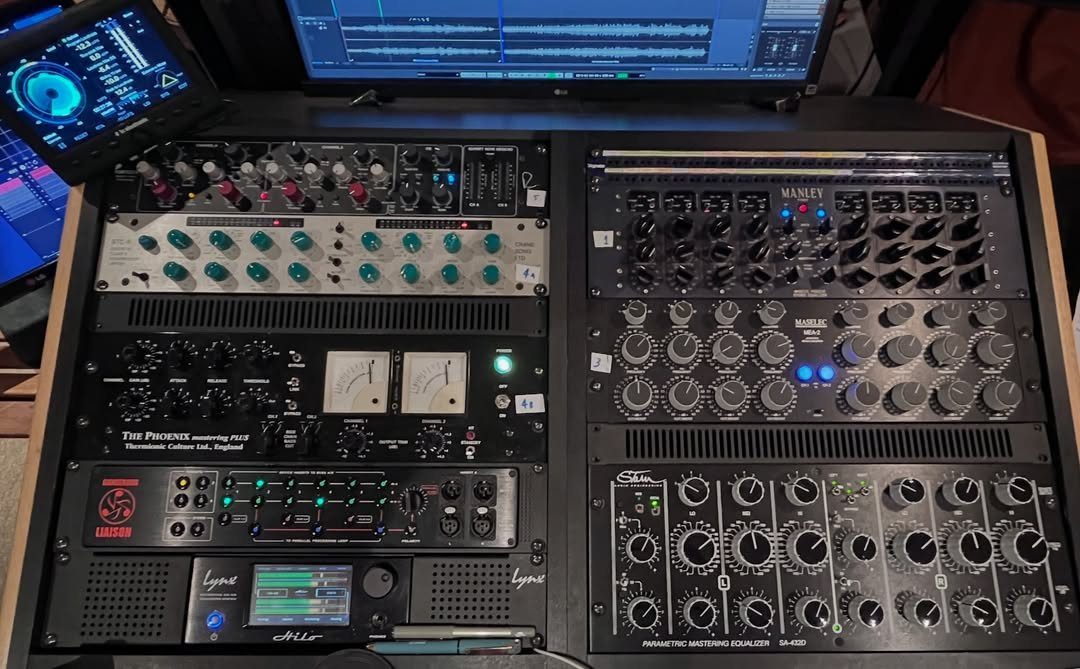
Racks of analog compressors, equalizers and processors give a recording a sound plugins only imitate, and they look the part under a screen.
They also cost far more than software and take up desk and rack space, so this is a second-stage purchase.
If you go this way, buy one piece first, usually a compressor, and learn it before adding another. Keep the rack within reach of your chair so you can adjust knobs without leaning.
Beginners on a tight budget should stay with plugins. I’d come back to hardware once the basics sound good.
10. Home Studio Drum Recording Space
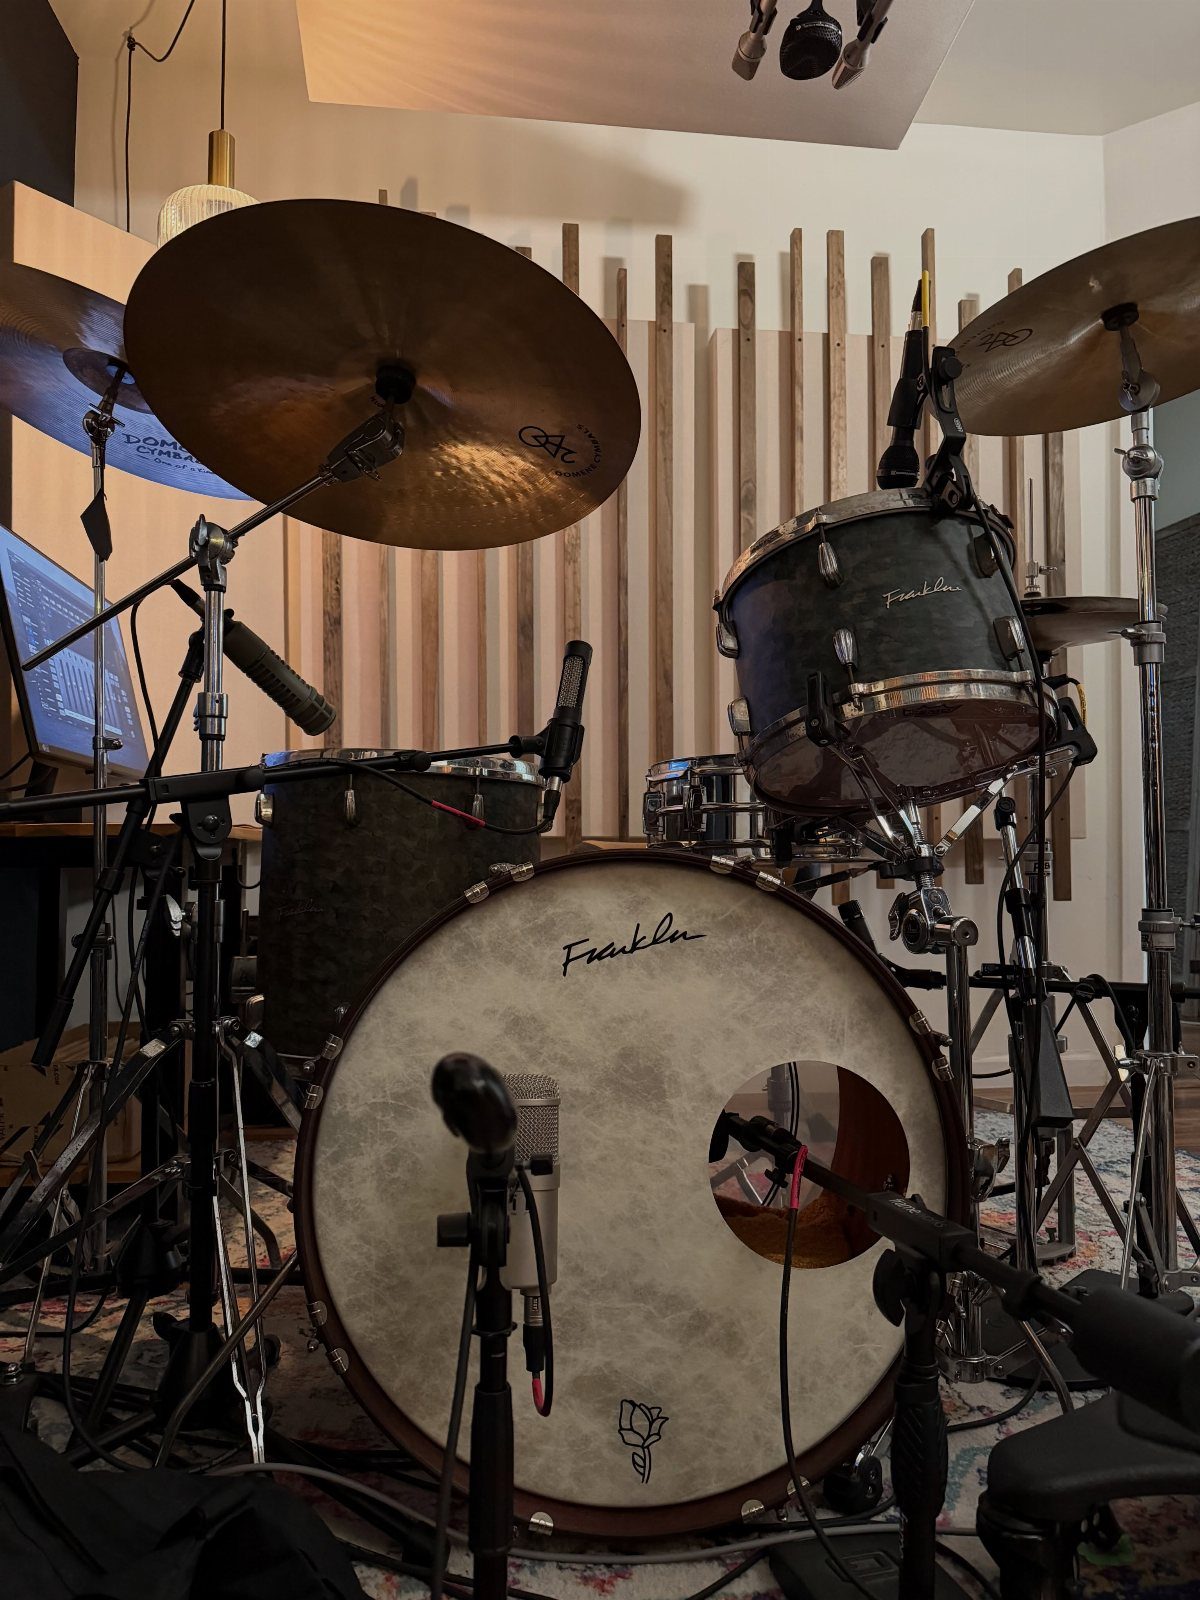
Drums are the loudest, most space-hungry instrument in a home studio, so give the kit its own room if you can. Vertical wooden slats on the walls both tame reflections and give the room a finished look.
Mic a kit one drum at a time. Start with a few microphones and add more only when the sound asks for it.
Leave the kit set up. Drummers practice more when there’s no setup work, and the mics stay where you placed them.
11. Dedicated Vocal Recording Corner
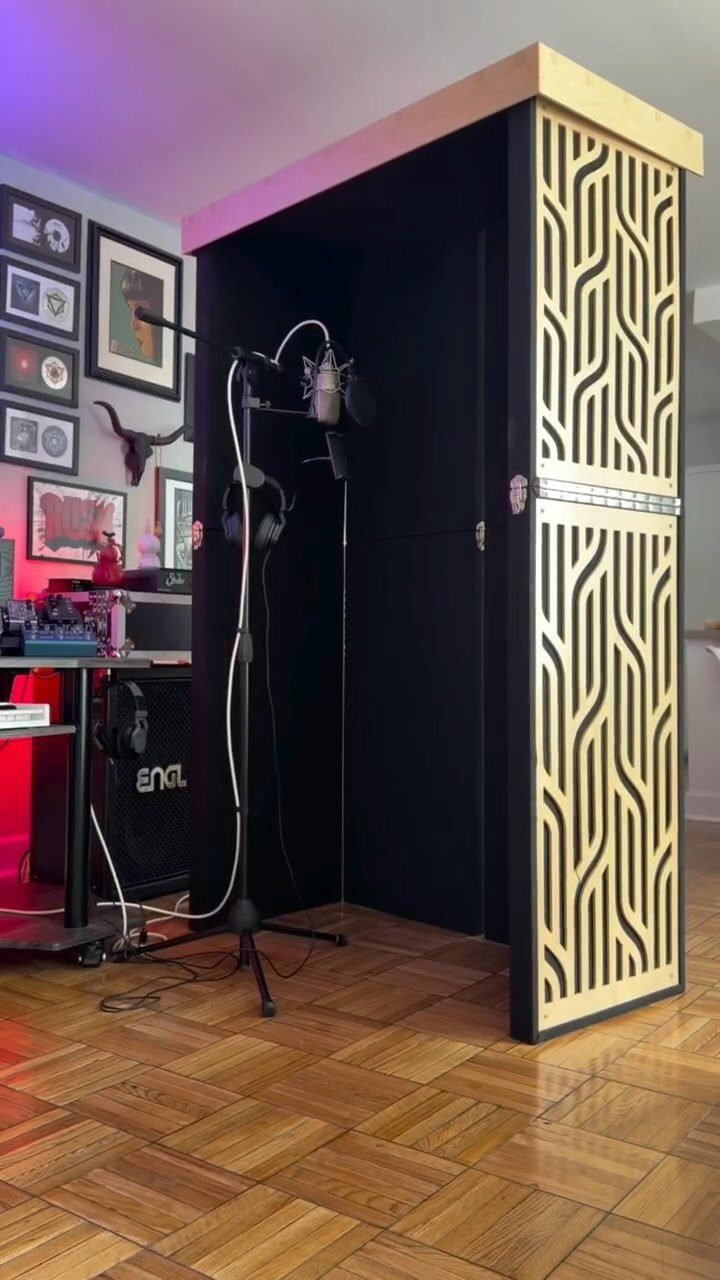
A vocal corner needs less than people think: a mic on a stand, an isolation shield behind it, and a wooden diffuser to scatter reflections instead of deadening everything. It fits a corner of a room you already use.
Place the shield directly behind the mic and sing toward it, standing so your mouth stays at a steady distance from the mic. A pop filter is cheap and worth adding.
Treat it as a cheaper step up from a full booth. It won’t block outside noise, so record when the house is quiet.
Considerations for Equipment
Start with the gear you cannot record without: a computer, an interface, a mic, headphones or monitors. Everything else can wait until a real gap shows up in your songs.
More gear can slow you down.
Each new piece adds setup time, troubleshooting and one more decision before you press record. A desk where you can sit down and hit record within a minute beats one crammed with gear you have to untangle first.
When you do buy, pick one good piece over three mediocre ones. Spend where the sound enters the system, since weak gear there can’t be fixed later.
Equipment is expensive, so there’s no prize for owning it all at once.
Importance of Environment
A dry-sounding room is what makes a mix honest, because echo and ring hide problems you only hear on other speakers. Soft furnishings help here: a couch, heavy curtains, a bookshelf and a thick bedspread all soak up reflections.
Room shape matters too. A square room tends to build standing waves, so a rectangular or odd-shaped one is the better pick.
Square rooms stack up standing waves in the corners and the middle, so budget for extra panels and bass traps if that’s the shape you’re stuck with.
Larger rooms give you more space for gear and players. Skip rooms exposed to traffic or neighbors, since a mic amplifies every bit of that noise.
Bare hardwood or laminate suits a recording room better than carpet, which soaks up some of the natural brightness of the space. If you’re stuck with carpet, accept it and treat the rest of the room.
Keep your desk away from the walls, and out of the dead center of the room, too.
"Although professional soundproofing is not a cheap investment, it’s a worthy one for your home music studio," advises Allison Walling, a lifestyle blogger. “It ends up paying for itself in the long run.”
Collaboration Options
Remote collaboration runs on a simple system, not fancy gear. Pick one person to own the main session and collect everyone’s parts.
Agree on sample rate and tempo before anyone records a note. Set up shared folders for Stems, Vocals, Demos, Mix Bounces and Notes in any cloud storage or file-sharing service.
Export every stem so it starts at bar 1, and the files will drop into your partner’s session already lined up. That one habit saves hours.
A 10-minute call to listen together and make decisions saves a long string of text messages. For live feedback, stream your DAW’s audio to your partner while you work, so you aren’t bouncing a fresh file after each vocal tweak.
Your reward is no more bounces named "FINAL_FINAL_2."