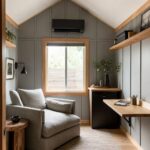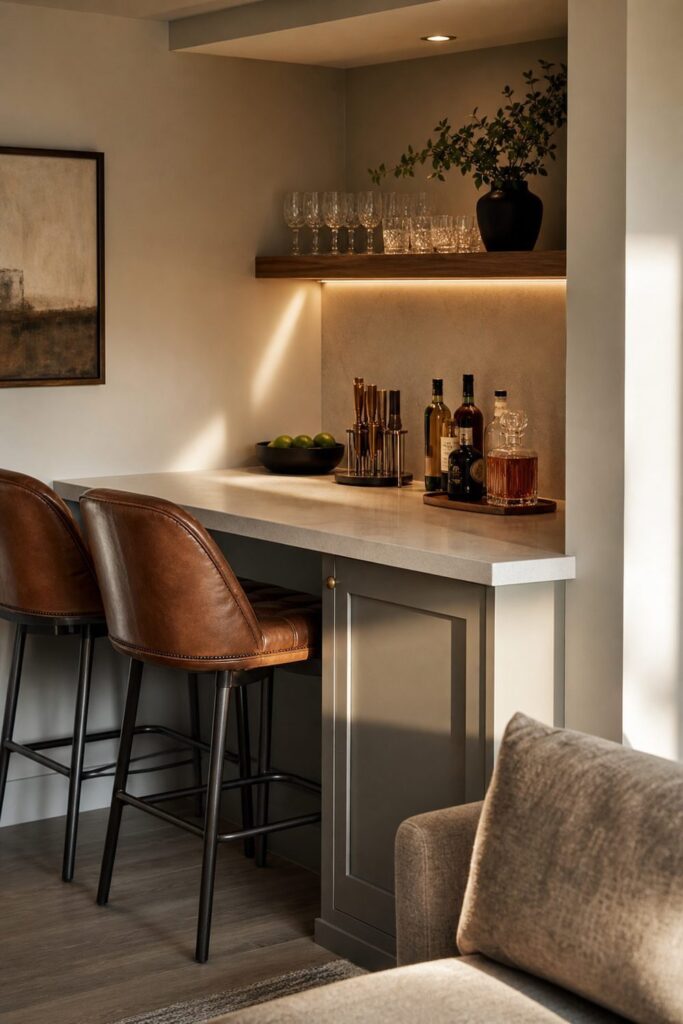
Plumbing decides which of these bars is yours: a dry bar needs only outlets and a countertop, while a wet bar needs supply lines and a drain, and below-grade drainage can call for a pump.
1. Layered Lighting
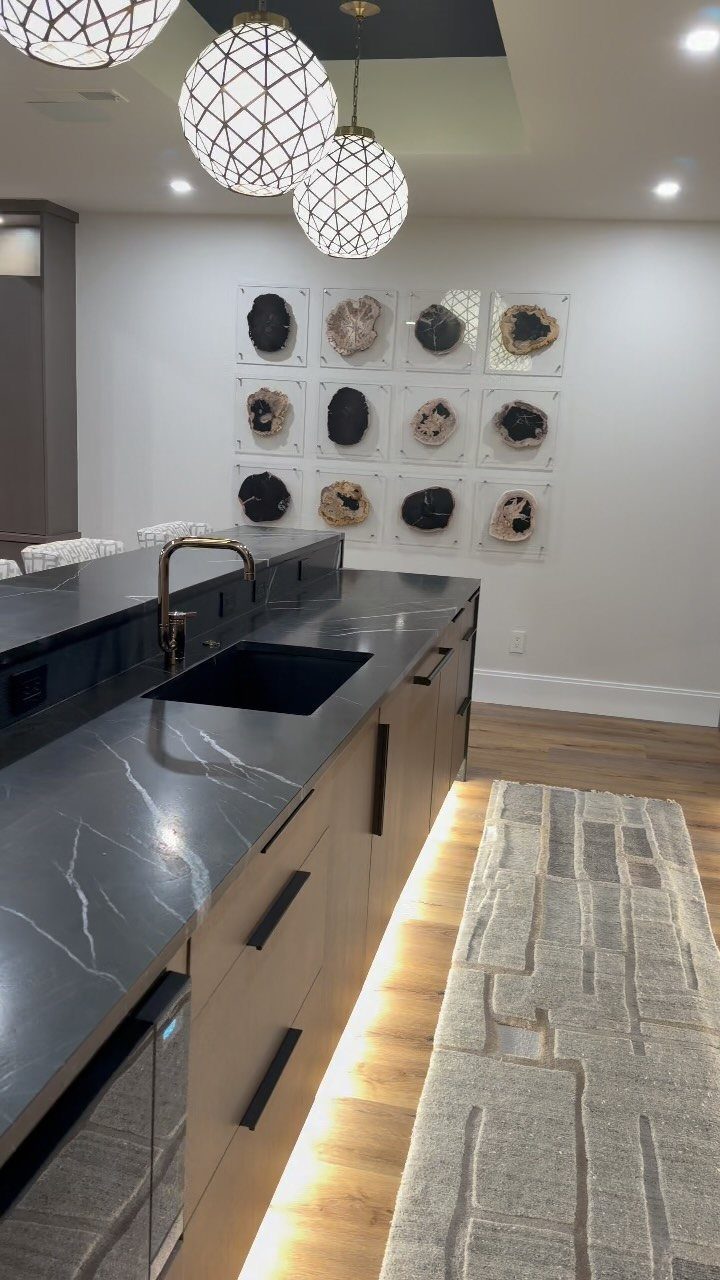
Three globe pendants over the counter and a strip of warm LED under the cabinets give a bar two separate light sources, and that pairing is the whole idea.
The pendants light the countertop and faces; the under-cabinet strip lights the faucet and backsplash zone.
Put each layer on its own switch, ideally a dimmer, so a quiet night and a full party don’t need the same brightness.
Warm white strips suit a dark marble top better than cool ones, which can turn the stone flat and gray.
2. The Wine Bar
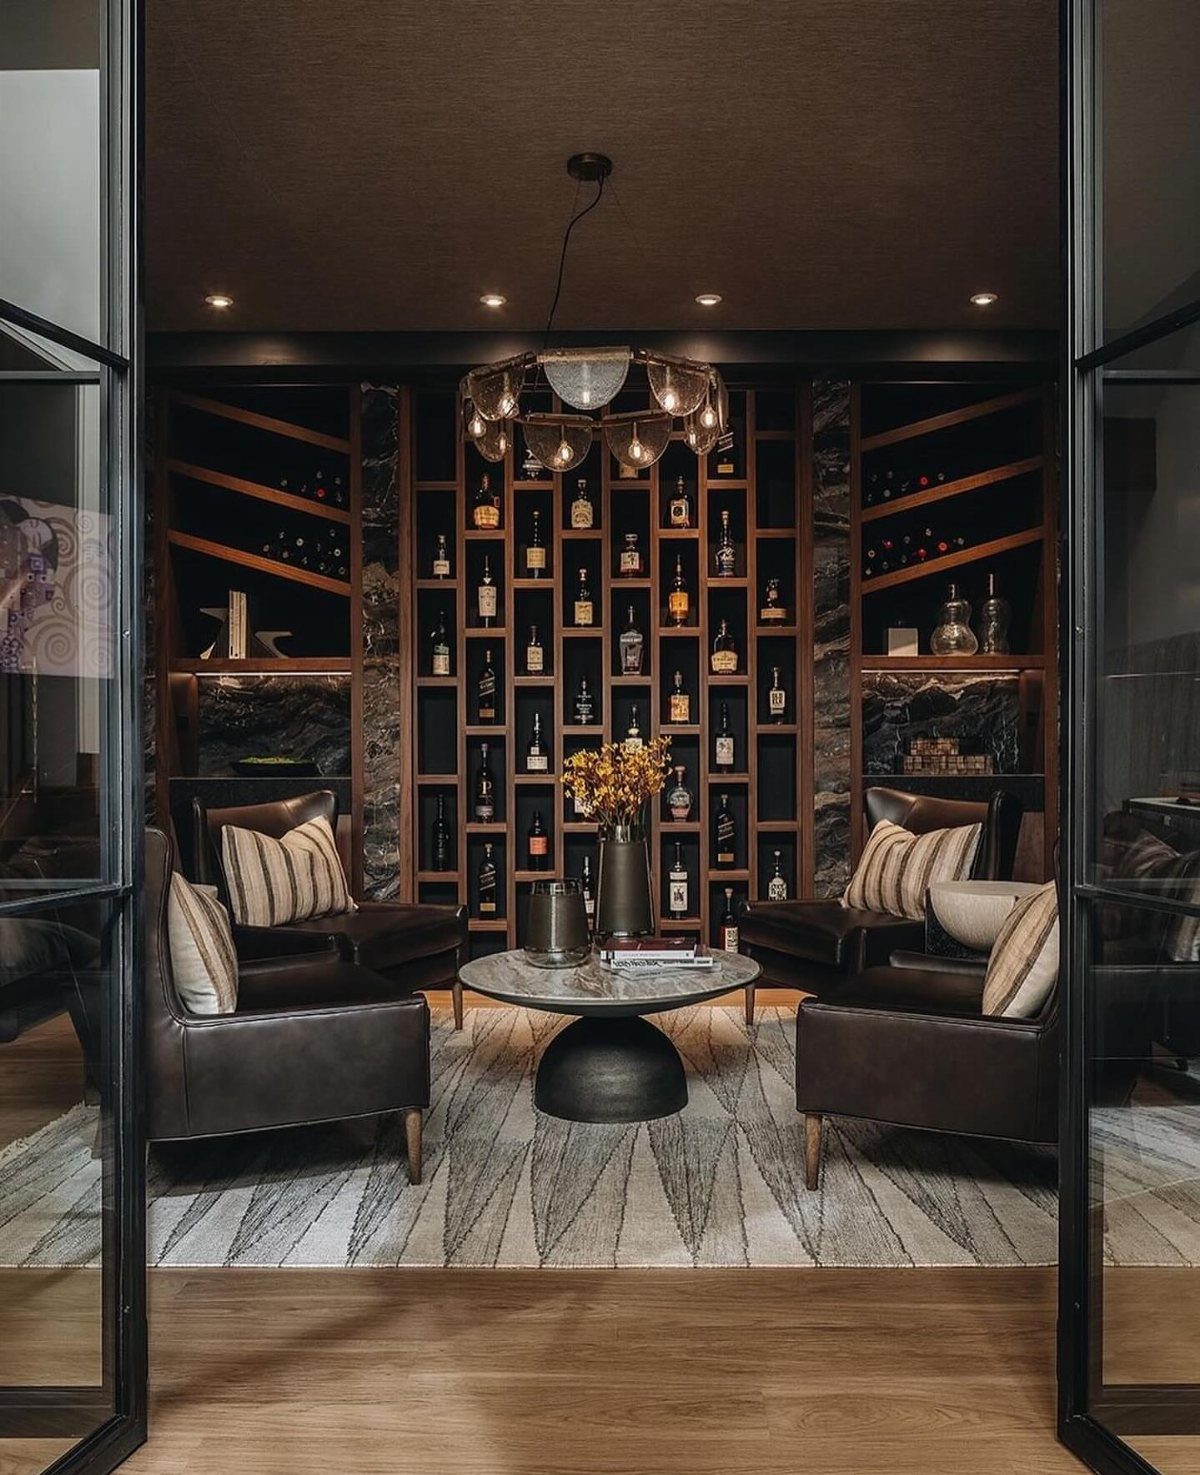
A wall of built-in cabinetry that holds both wine and spirits turns one side of a basement into the bar itself, with no counter required.
Leather armchairs and a round table in front give guests somewhere to sit with a glass, so the storage and the lounge share one footprint.
For a rental or tight budget, a freestanding wooden unit gets you most of this look. Pick one with closed doors for bottles you want hidden and open shelves for the ones worth seeing.
3. L-Shaped Bar
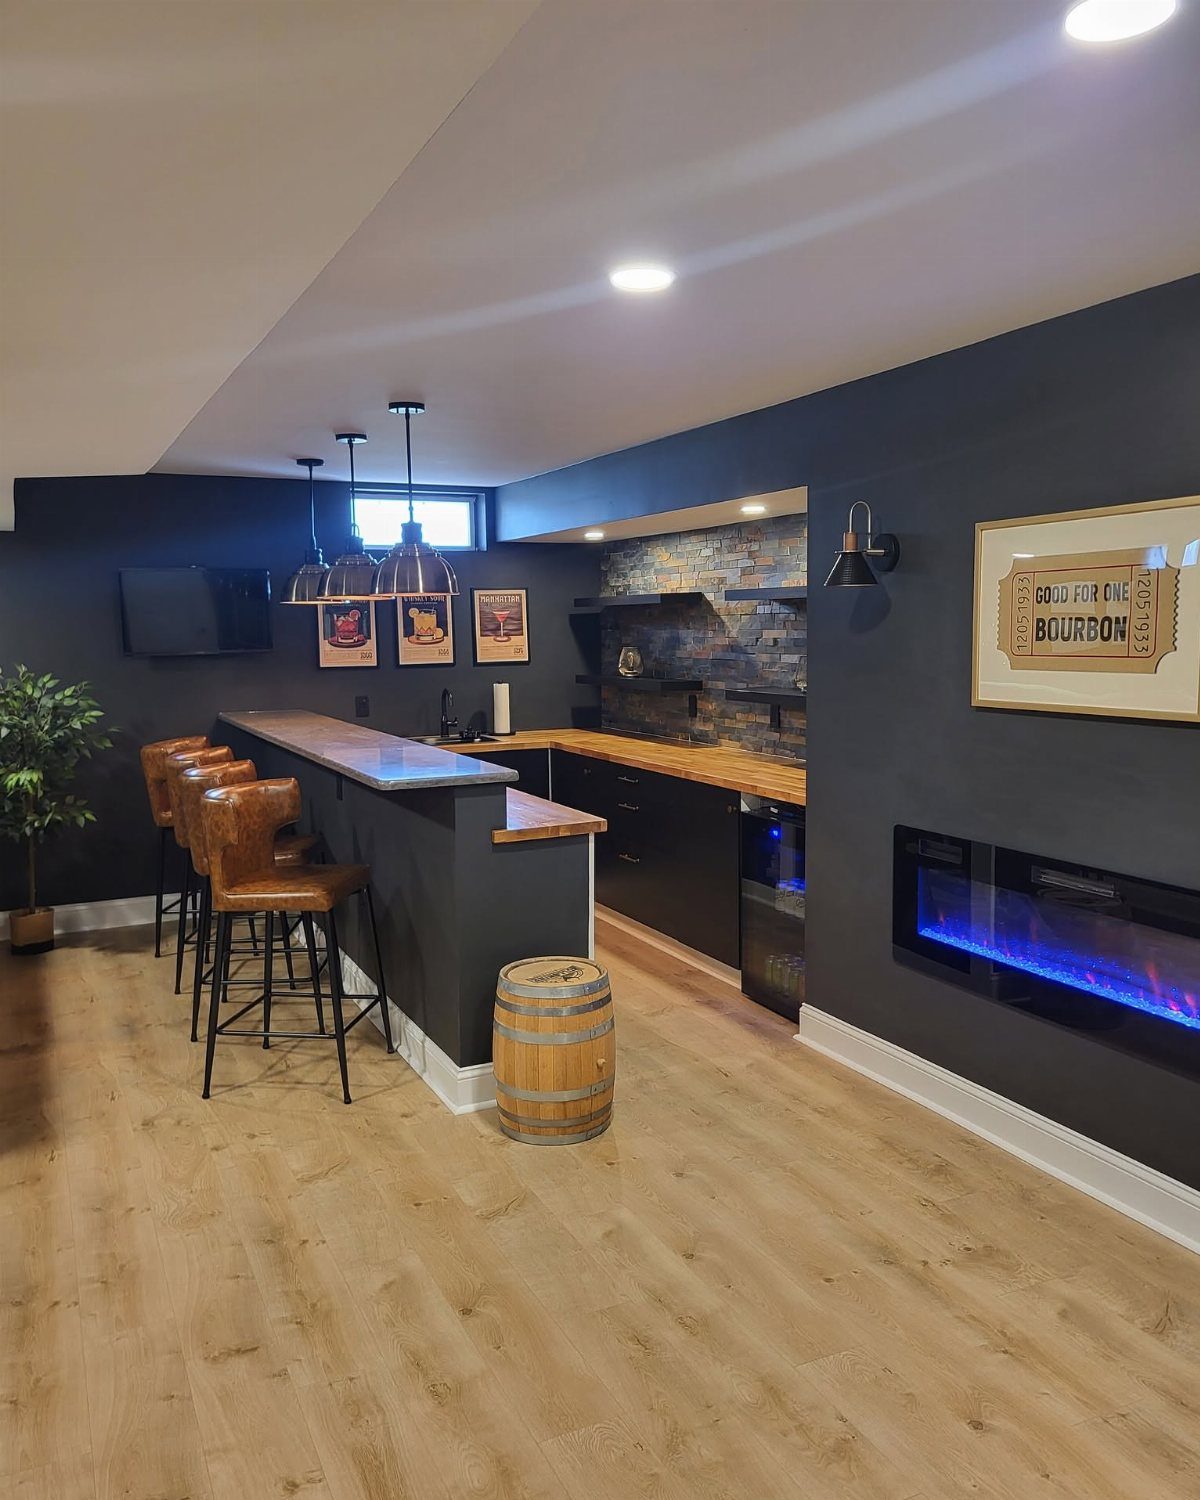
2 legs of counter meeting at a corner give you seating along both sides while tucking the work area into the bend, which is why an L suits a basement with an awkward corner to spare.
Dark grey cabinets under a wooden top keep the base from showing scuffs, and wood warms up the grey.
Leave room behind the counter to turn around and open doors without hitting a stool. Leather stools with a back are my pick if guests sit for hours.
4. Speakeasy Style
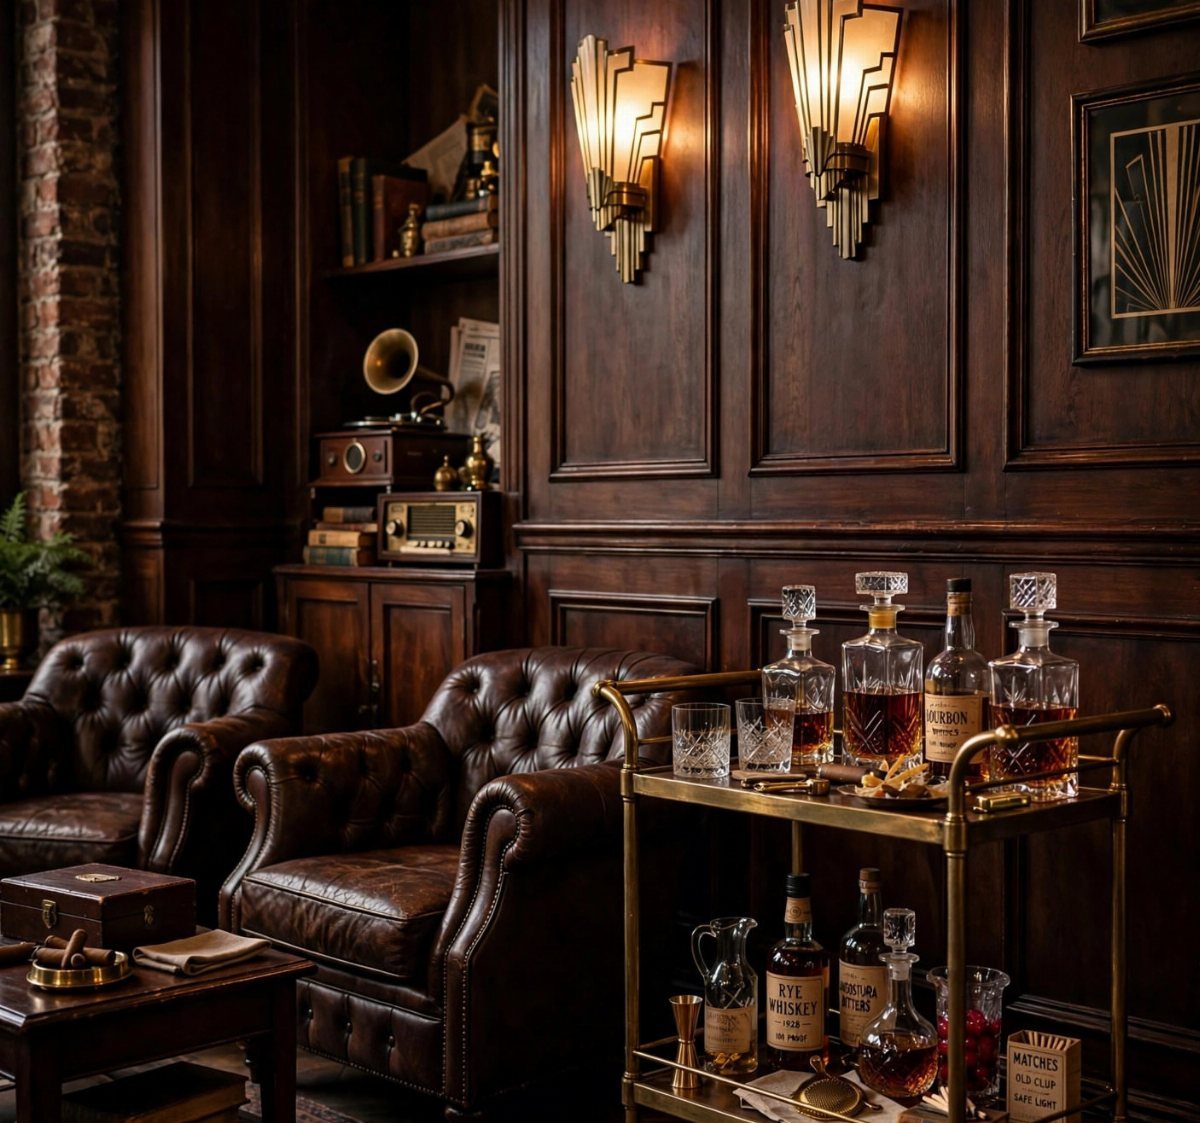
Dark wood paneling does most of the speakeasy work, and Art Deco sconces finish it. Low, warm light matters here more than any single prop, so skip overhead cans and let the sconces carry the room.
A gold bar cart is the cheapest way in: it holds bottles and glasses with no plumbing or built-in counter. Add 2 leather armchairs angled toward each other, and the room feels made for conversation rather than crowds.
Paneling can be done over a weekend with real or thin sheet material, if the walls are flat.
5. Rustic Wood Bar
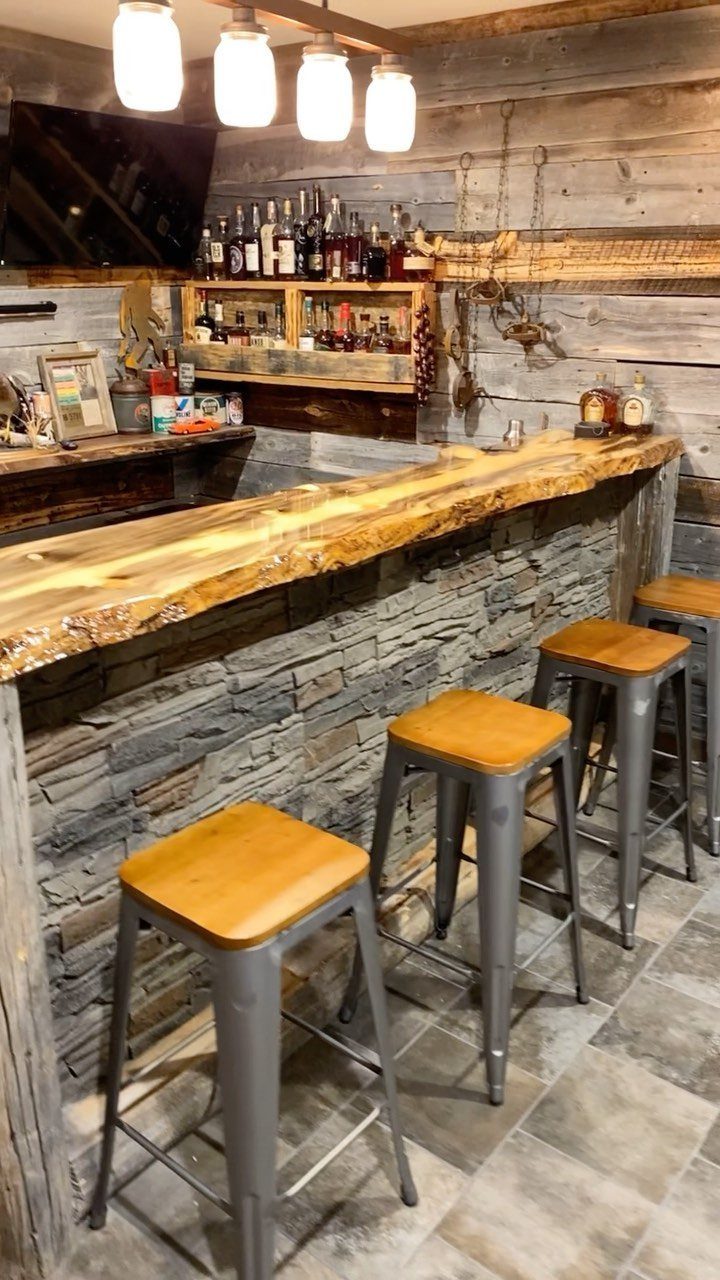
A live-edge slab keeps its natural, uneven outer edge, and that one detail makes a bar top look like it came out of a lodge.
Pair it with a stone-faced base and wood-clad walls, and the basement stops feeling like a basement.
Seal the top well, since a bar top takes spills.
Metal stools with wooden seats keep the heavy wood from feeling too matched, and they echo the slab. Slabs cost real money, so price one before you design around it.
6. Modern Minimalist Bar
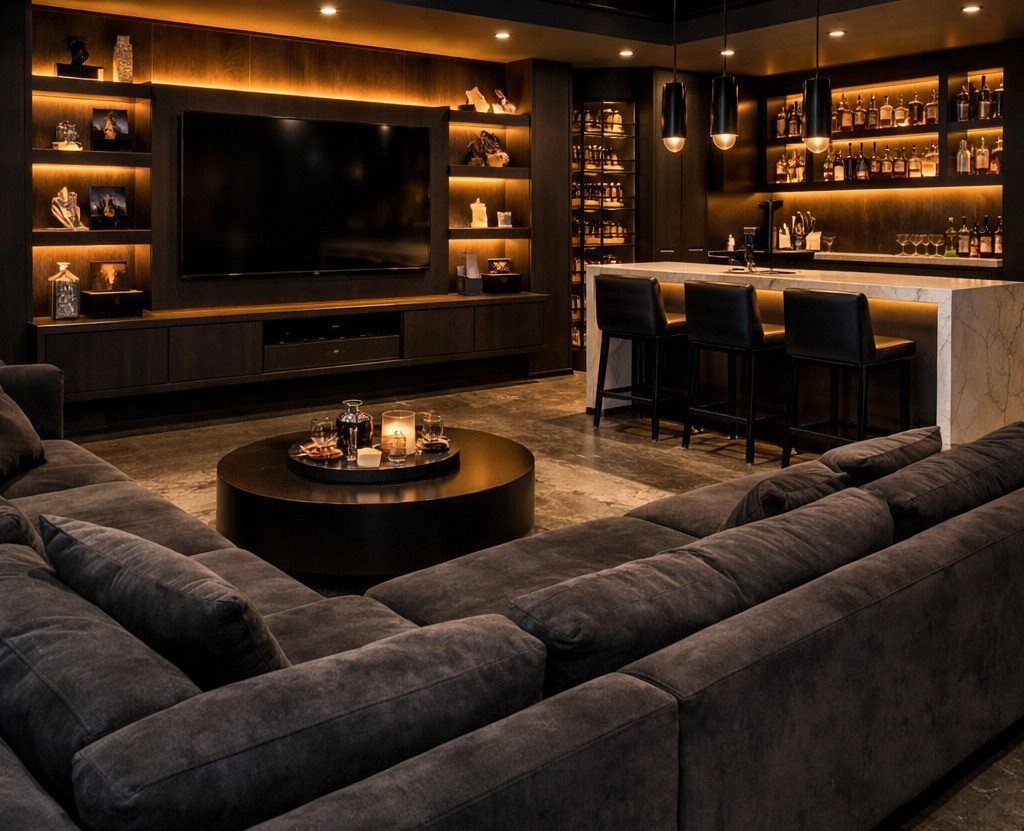
Nothing else competes, so the bottles become the decoration.
Backlit shelving is the move I’d copy first, since an LED strip behind the shelf edge costs little and makes a plain wall glow. Keep the bottles edited to a few good ones; clutter breaks the look faster than anything.
7. Wet Bar
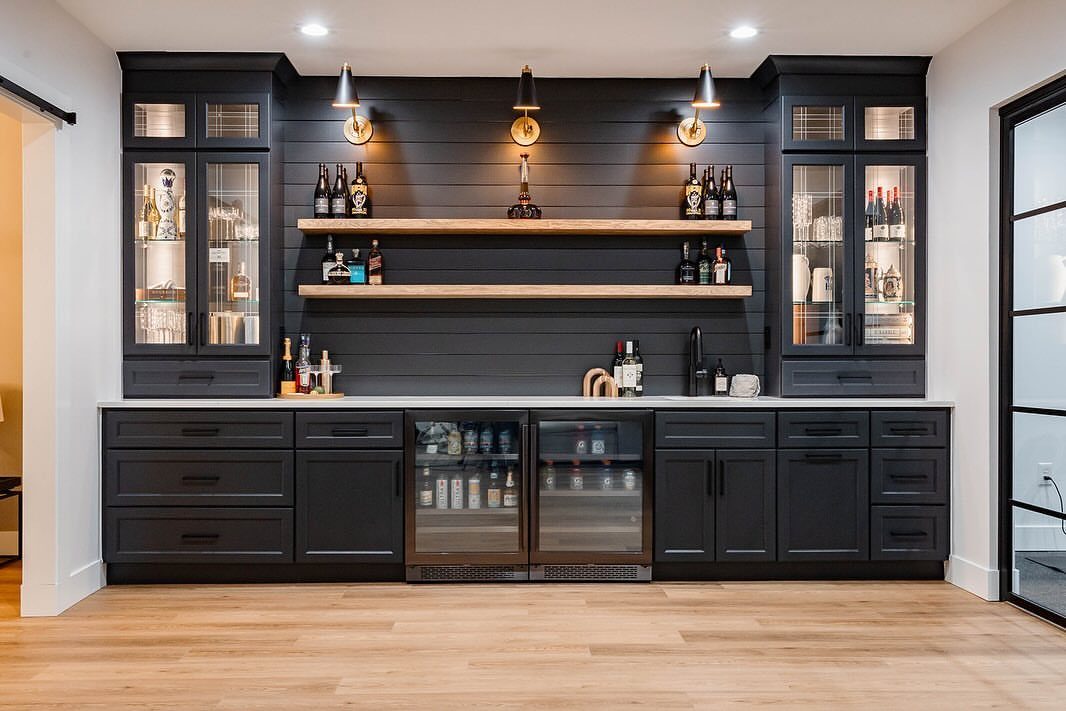
A sink behind the bar means glasses get rinsed on the spot and ice melt has somewhere to go, so nobody carries dishes up 2 flights of stairs.
A wet bar earns its place in a basement where the stairs are the long way to the kitchen.
Plumbing is the cost: a basement sink needs water supply and a drain, and below-grade drainage can call for a pump, so price that before you commit. Dark cabinets with a white counter hide splashes and still look clean.
8. Dry Bar
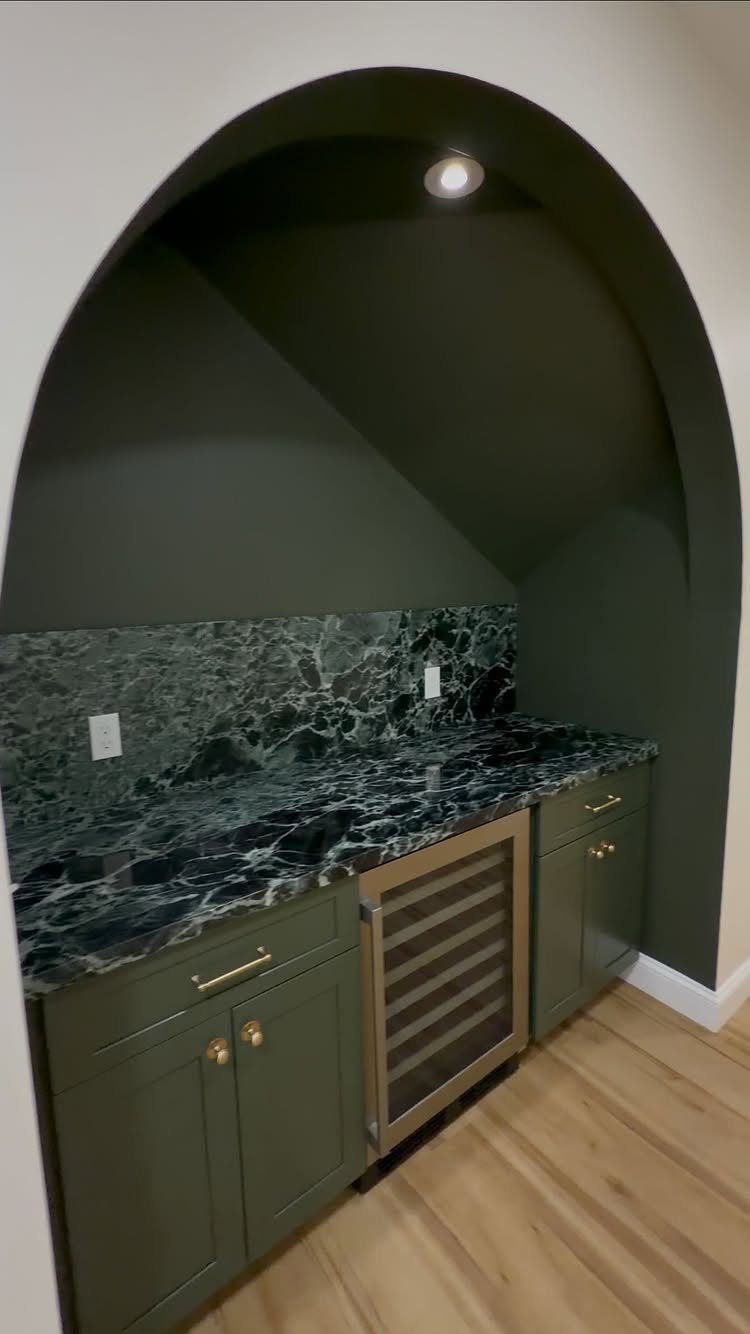
Skip the plumbing and a bar becomes a cabinet run with a countertop, which is why a dry bar is the easier build for most basements.
A wine cooler under the counter handles the chilling a sink would otherwise support.
Rinse glasses upstairs and keep the bar for pouring. For a rental, I’d pick this version.
9. Bar Stools
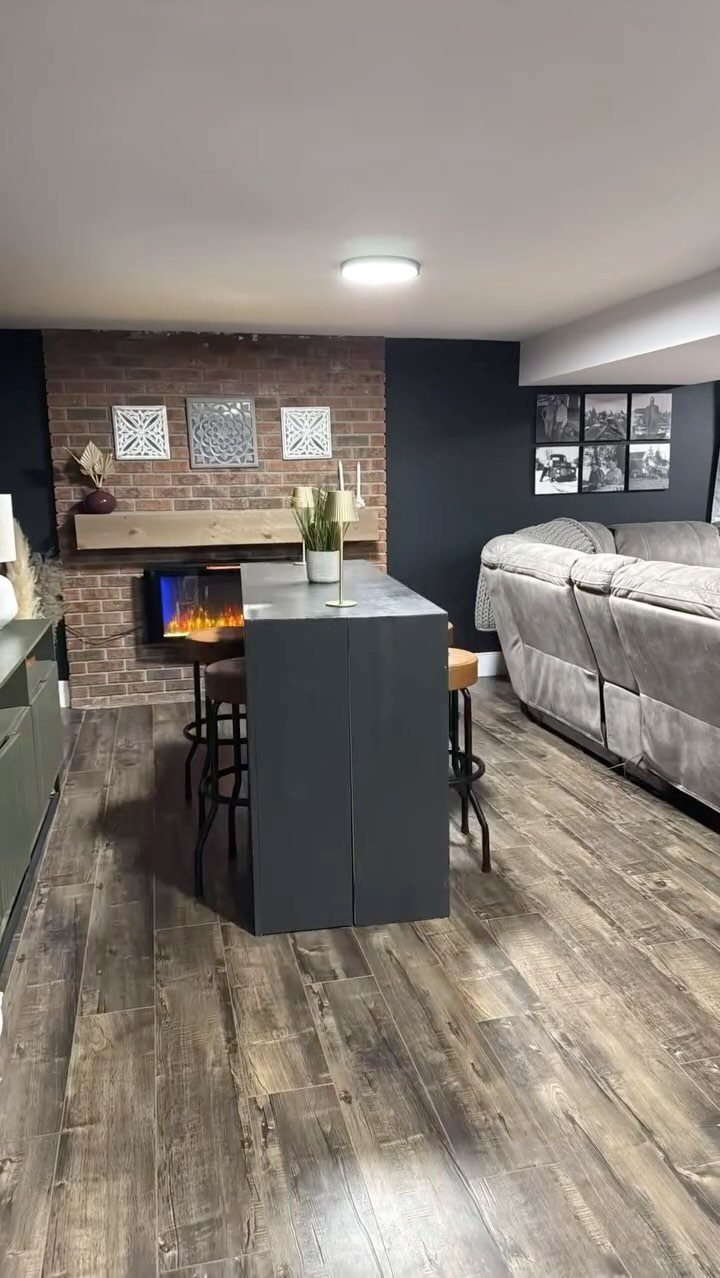
Black stools tucked under a dark grey counter disappear when nobody sits, which keeps a basement looking open.
Check the height before buying: the seat should sit low enough that your knees fit comfortably under the counter, with clearance that varies based on whether you’re working with a standard counter or a taller bar.
Leave enough clearance between the seat and the counter’s underside so knees fit. Backs and footrests matter more than style if guests stay a while.
10. Game Room Bar
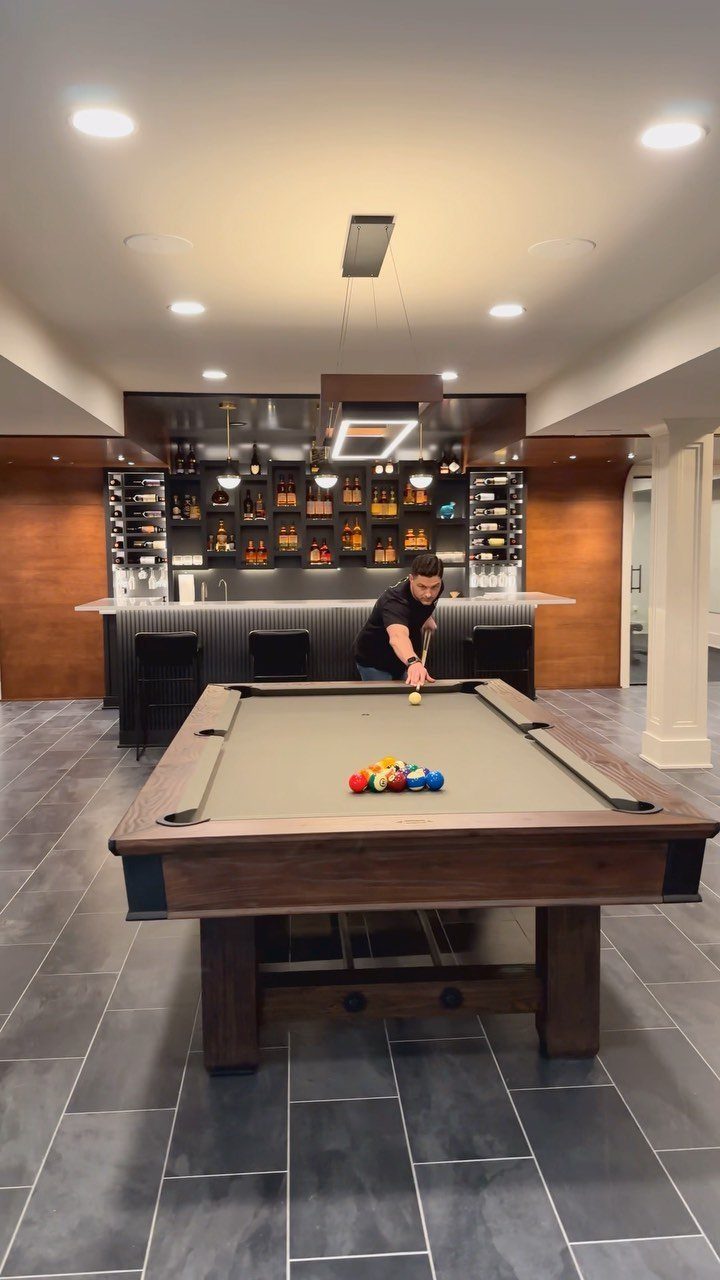
A built-in bar in the corner of a pool room keeps drinks off the table and the game in reach. Liquor shelves behind the counter and a few stools let spectators sit out a round without crowding the cue.
Plan the room around the pool table first, since cues need clearance on every side.
Fit the bar into whatever wall is left over. Stools with backs beat backless ones for long matches.
11. DIY Basement Bar
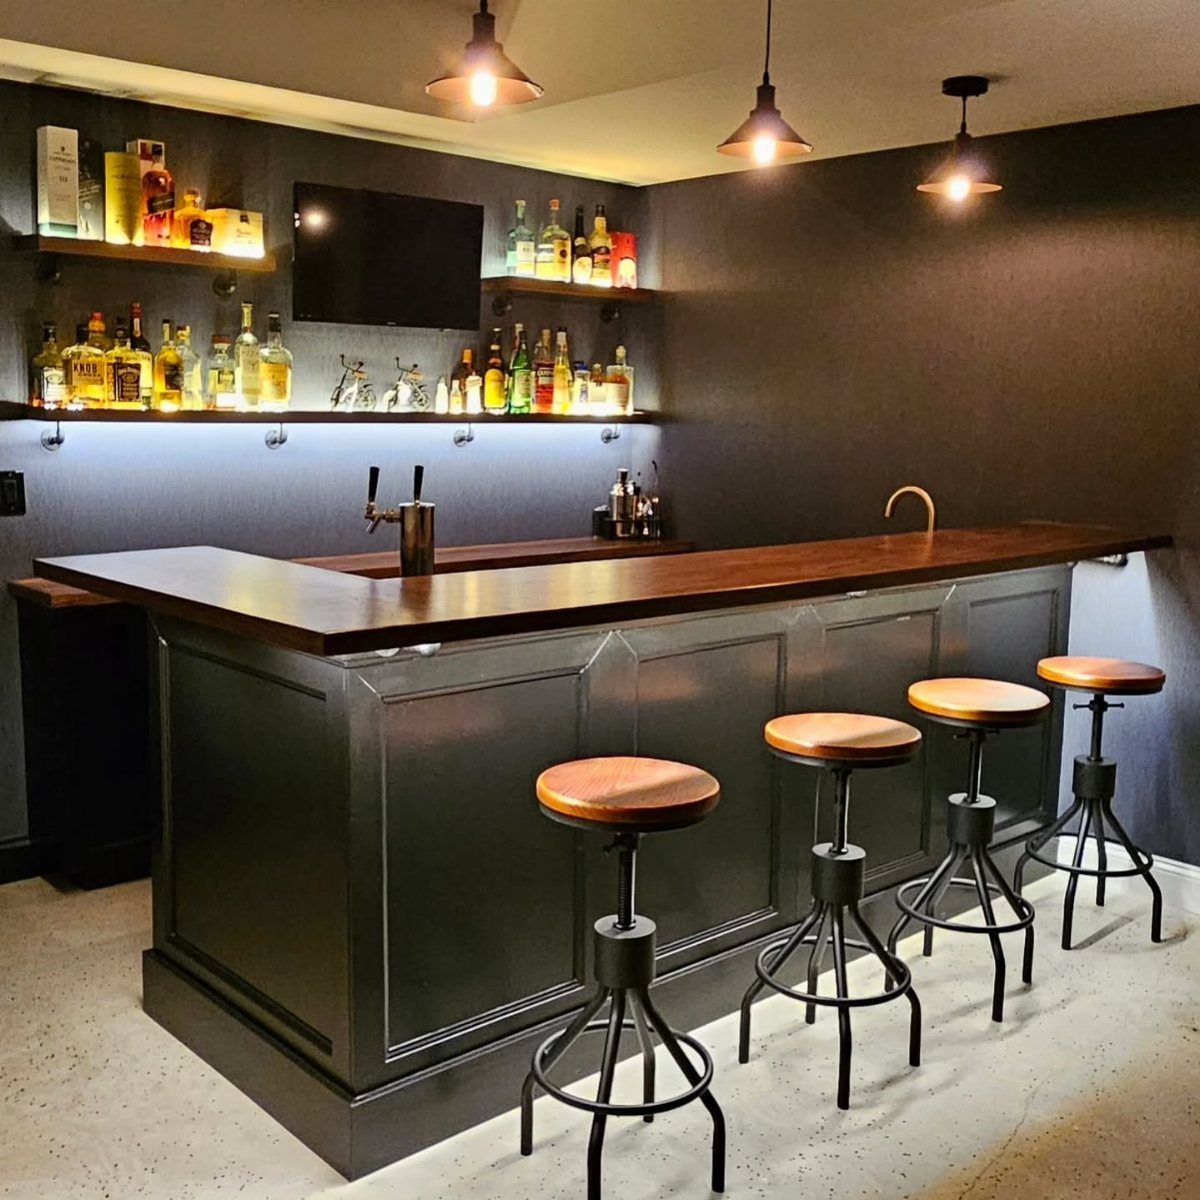
Stock cabinets, a butcher-block style wooden top and plain floating shelves are what a handy homeowner can build over a couple of weekends, and that’s where the savings come from.
Labor is the big cost on a bar, and doing it yourself removes it.
Dark grey paint on the cabinets hides scuffs.
Hang the 3 pendants over the counter, and anchor floating shelves into studs, since bottles are heavy. Spend on the top, because it’s the part everyone touches.
12. The Sports Bar
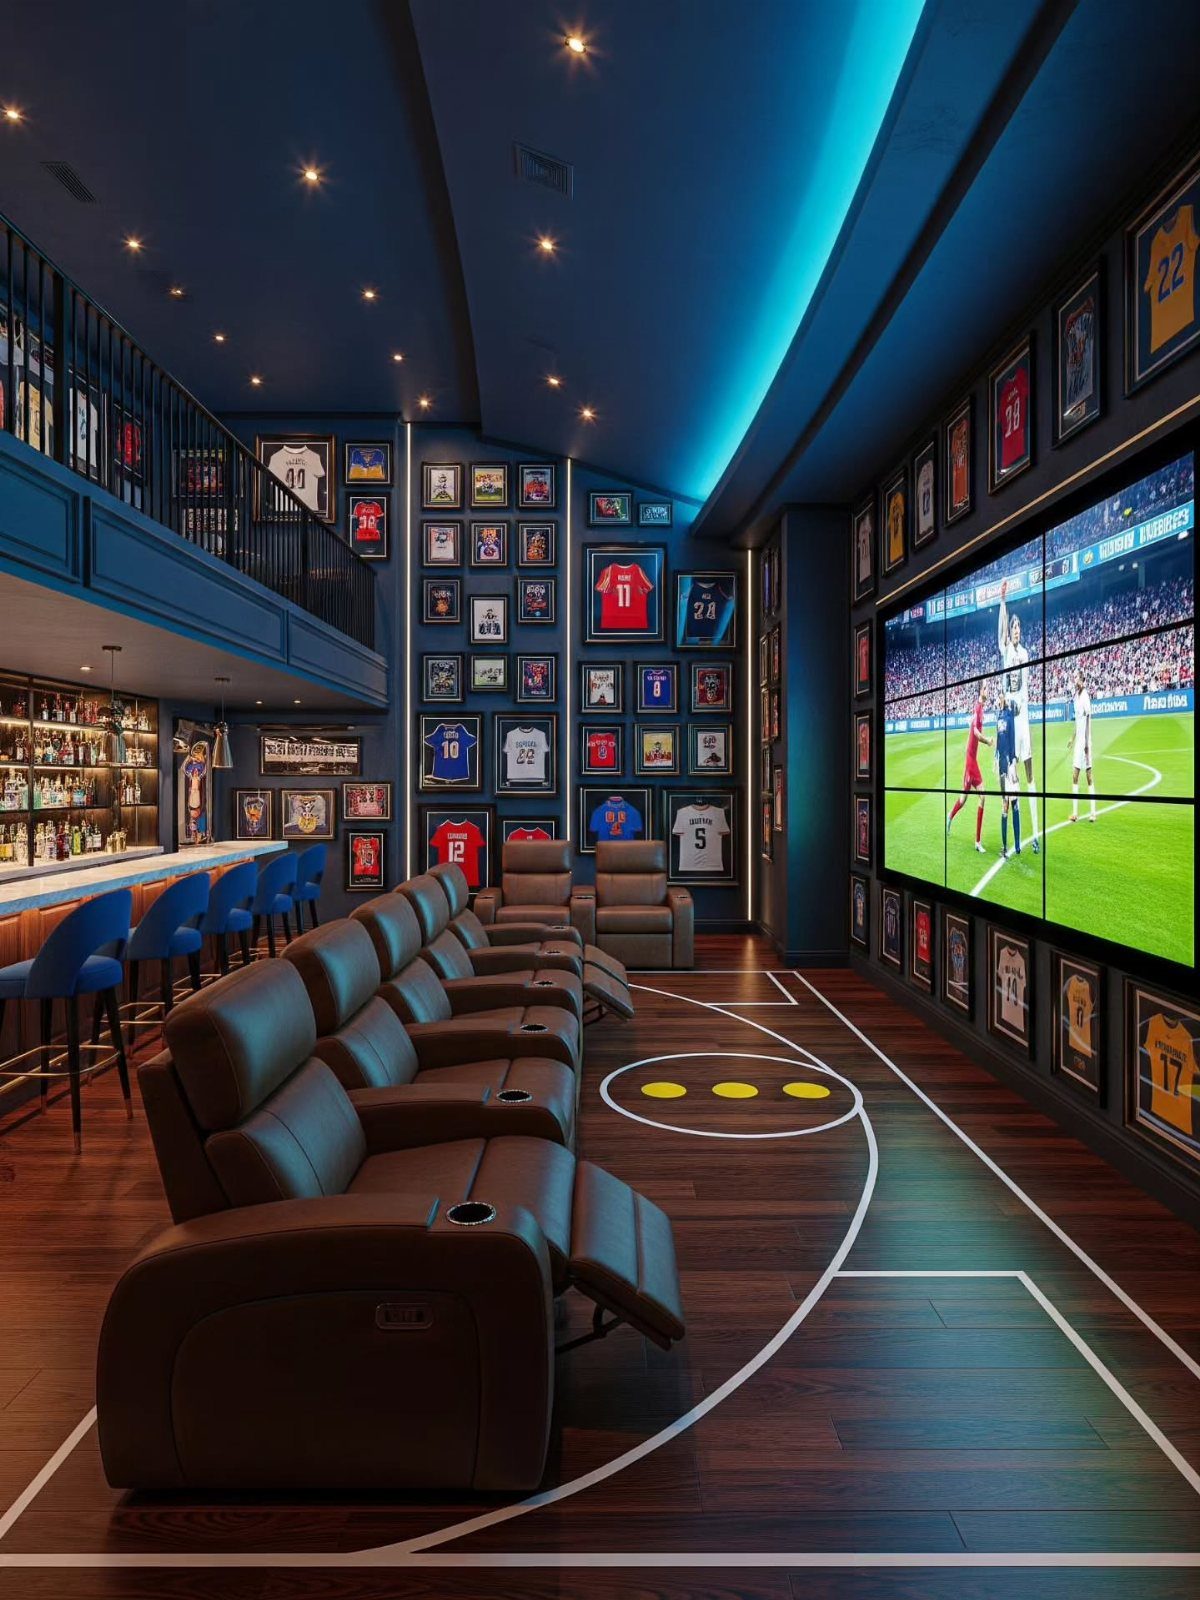
Recliners aimed at one big screen do more for a sports basement than any bar fitting. Put the seating first, then run the bar behind or beside it so refills never block the view.
Framed jerseys cost little and fill walls fast, so buy them gradually.
Court-style floor markings in white are a bold touch I like; painted lines are an easy way to copy it. Blue stools add team color without overwhelming the room.
13. Under Stair Bar
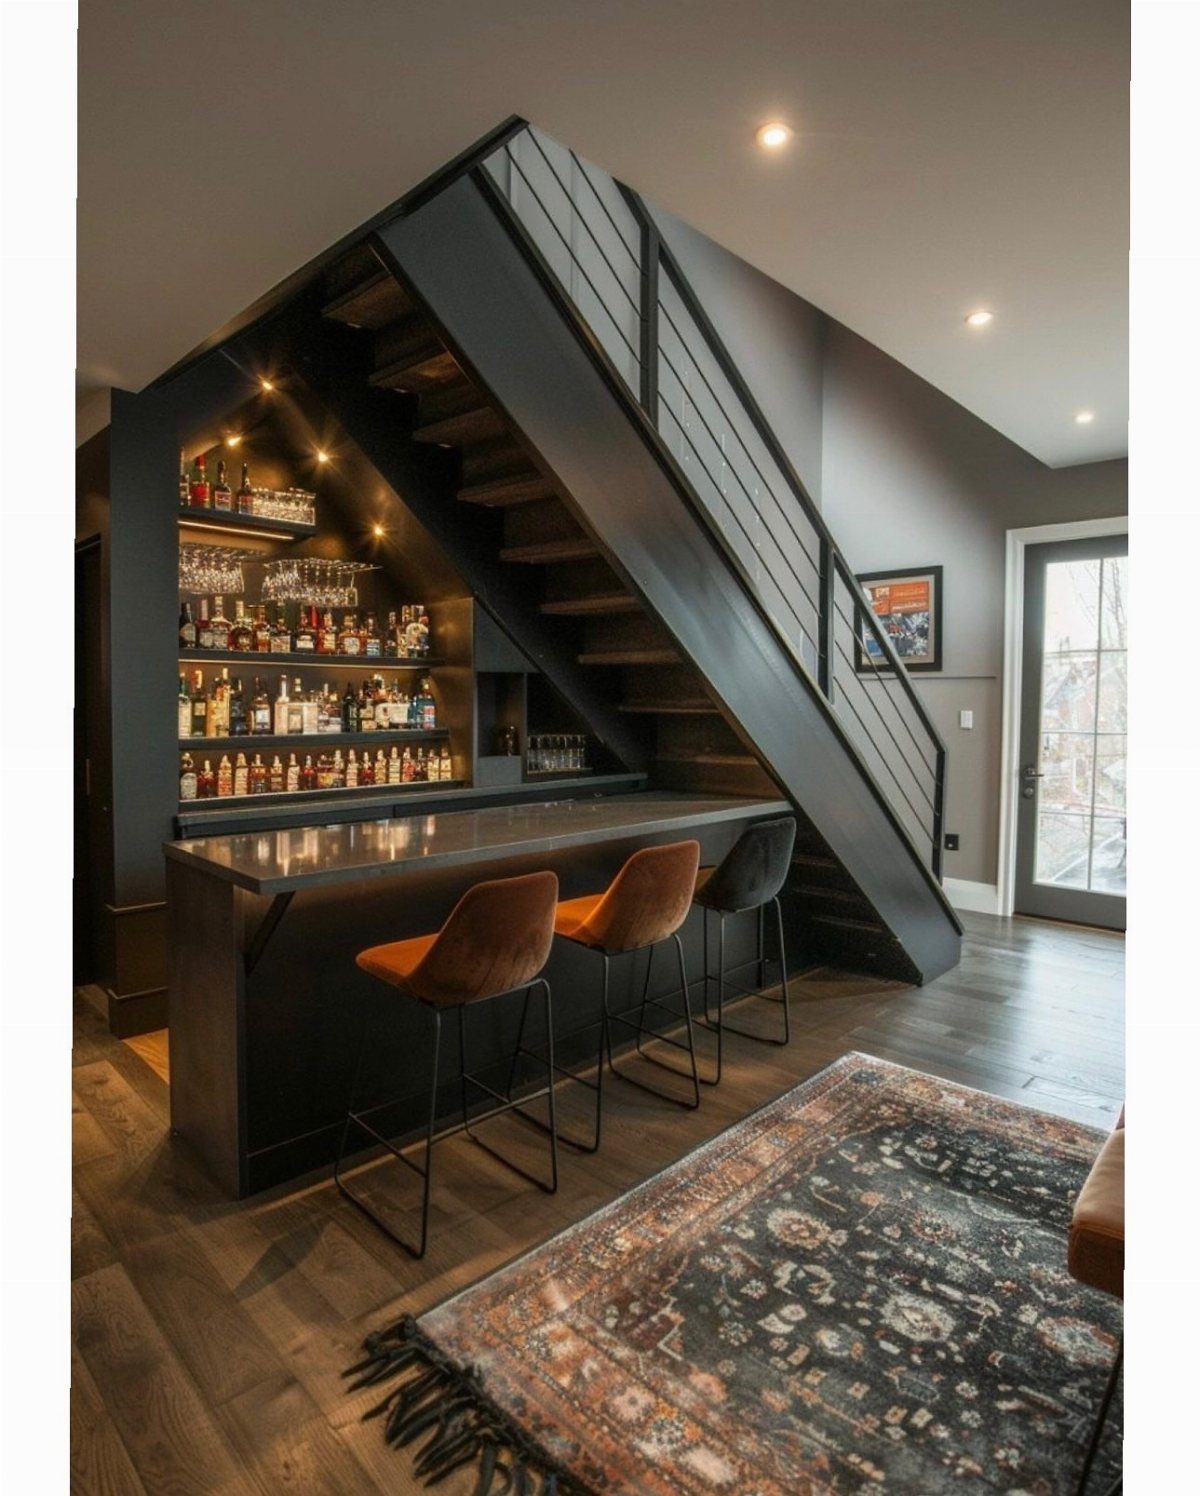
A black staircase with a bar tucked beneath it turns dead space into the best-used corner of the basement. The backlit liquor shelf set into the wall gives the nook its own glow, so it doesn’t feel like a closet.
Measure the low end of the slope before planning stools, since head clearance decides where people can sit and where only shelves fit. Keep the counter shallow so it doesn’t push into the walkway.
One bright color against black finishes sharpens the whole look without needing pattern or a second accent.
14. Tiki Bar
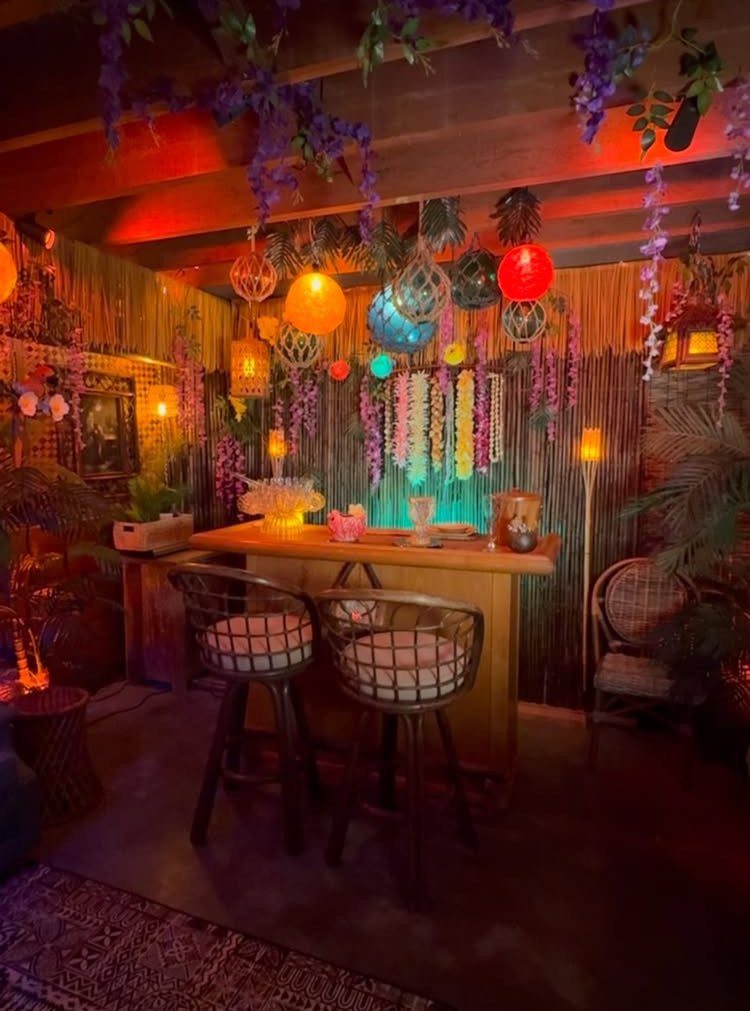
Bamboo walls do the heavy lifting in a tiki bar, and the rest is cheap, layered detail. Woven seating, bright hanging lanterns and ceiling garlands layer in the tropical cues that make a tiki bar read right.
Build the counter and wall treatments first, then hang the decorative pieces last since those are the simplest to change out later. For a rental, bamboo panels and garlands are the parts that can come off without a repair.
Themed rooms get dated fast, so I’d commit fully to the look or skip it.
15. Peninsula Bar
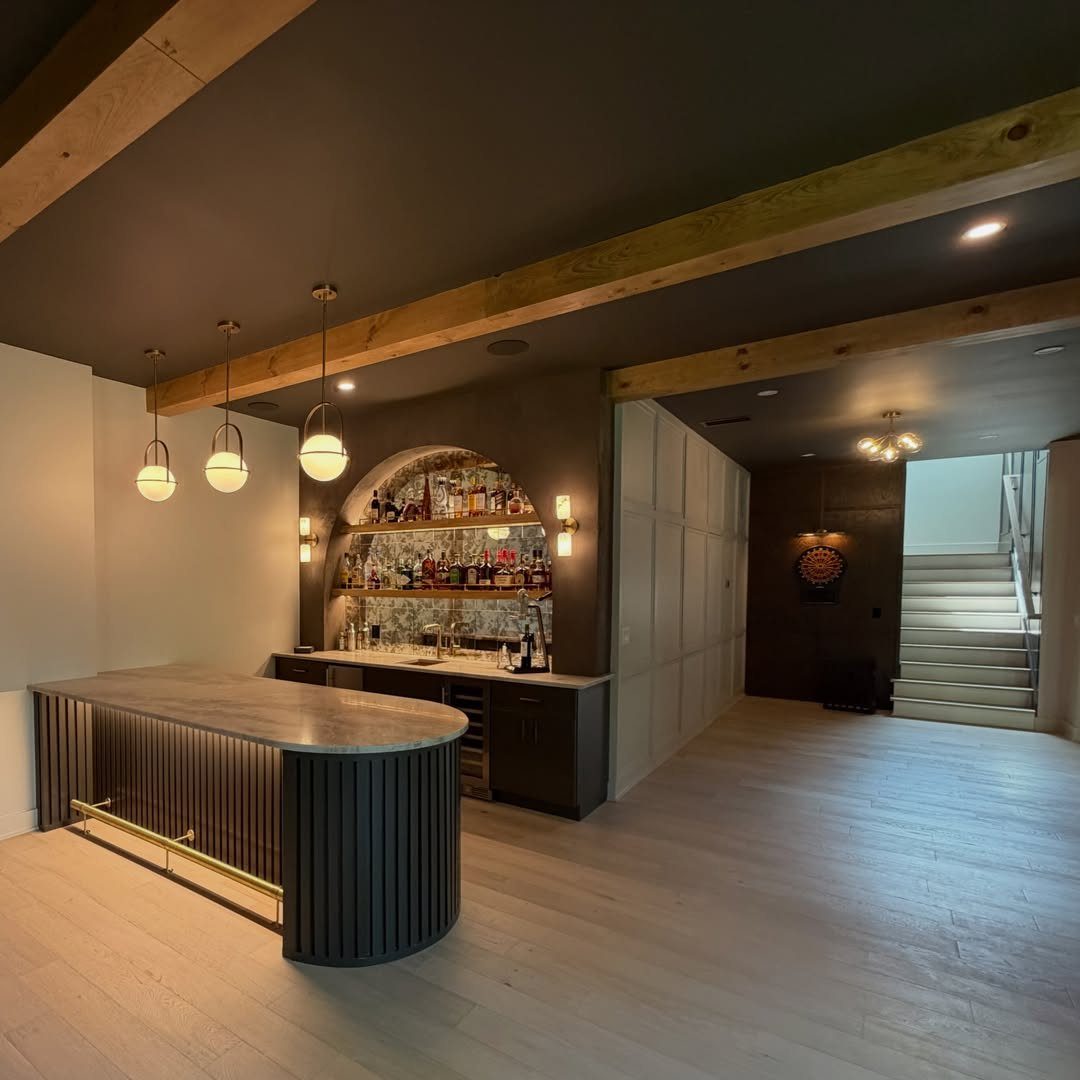
A curved peninsula counter pushes the bar out into the room, so guests gather around it instead of lining up against a wall.
Leave enough floor on the open side for people to pass behind stools. Arched shelving for liquor behind the counter repeats the curve, and 3 pendants overhead mark the bar as the center of the room.
A curved base costs more to build than a straight one, so price it first.
Planning Your Basement Bar
Start with a tape measure and a floor plan that marks the stairs, support posts, ductwork, and the nearest water line. Those fixed items decide where a bar can go far more than any style choice does.
Settle the plumbing question next, because it splits the project in two.
A dry bar needs only electrical outlets, while a sink means supply lines and a drain, and that is usually where a weekend job turns into a hired one.
Then set a budget with a ceiling you won’t cross, and write it down before you shop. Spend first on what gets touched daily, like the countertop and seating, and let the decor wait.
Finish by taping the counter outline on the floor. Walk it with a tray in your hands and see whether it feels tight.
Budget Considerations
Costs run from a few hundred dollars for a simple setup to over $50,000 for a custom-built bar, so the first decision is which end you are shopping.
Put floating shelves above and the setup looks intentional instead of bare. A large antique mirror panel behind the shelves adds depth, and old glassware, trophies, and family photos from your own boxes fill it out for free.
At the lower end of that range, you can stay under $2,000 with a prefab bar front, butcher block top, and stock cabinetry. A full DIY bar lands between $1,500 and $7,000.
DIY suits dry bars best. Once plumbing and electrical work enter the plan, hire licensed pros, because a water mistake in a basement is expensive to fix.
“The cost of a basement bar can vary wildly; $5,000 could set the mood for a simple, cozy bar, while $150,000 could transport you straight into the jazziest 1920s watering hole.”
Does a Basement Bar Add Value?
A basement bar can add value, though the lift isn’t automatic. The bar helps most when the rest of the basement is finished, because buyers judge the room as a whole.
Wet bars tend to add more than dry bars, because buyers like the function of a sink. If resale is on your mind, that is worth weighing against the added plumbing cost.
Keep the design neutral if you may sell soon. A bar with a heavy theme appeals to fewer people than a simple one someone can adapt later.
I’d build what you’ll actually use. Resale counts, but so do the years you spend down there before you sell.