The ideas run from painted bare joists at $50–$200 total to drywall at $2–$4 per square foot, with most falling between $1 and $12.
1. Painted Exposed Ceiling
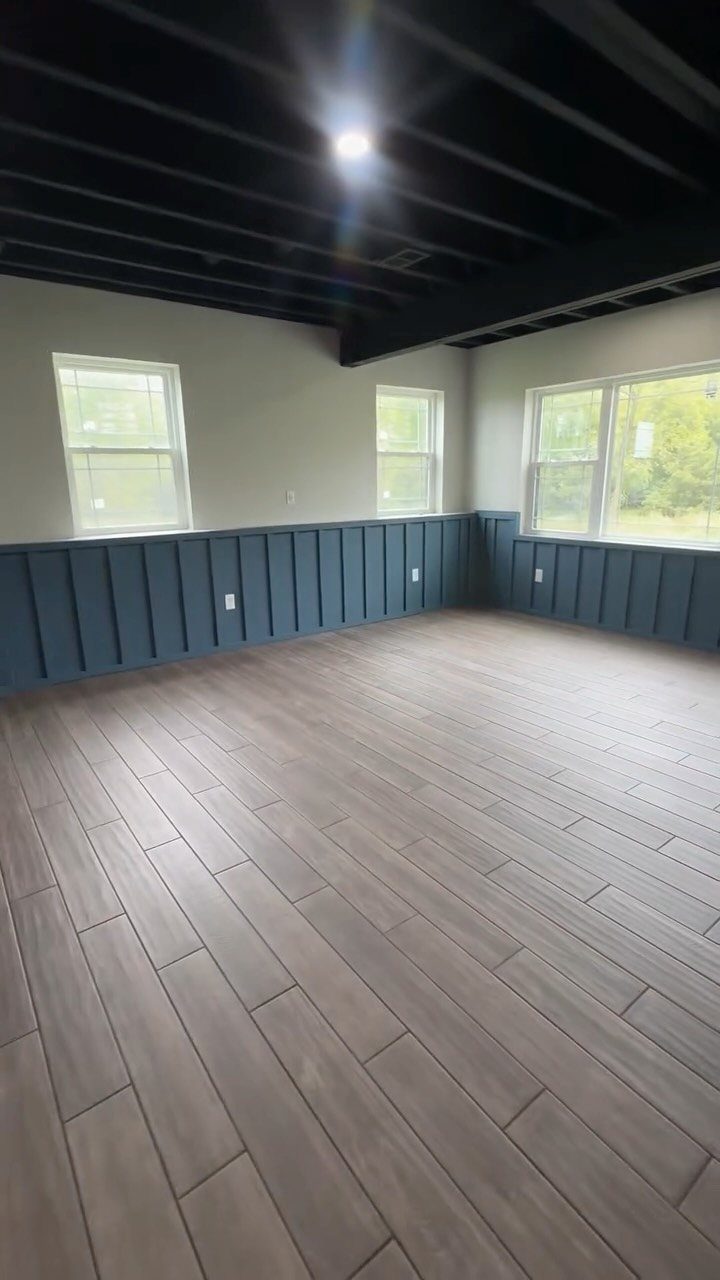
Black paint on bare joists pulls the ceiling back into shadow. Pipes, ducts and wiring fade into the dark, and a single fixture reads as a deliberate choice rather than a cover-up.
Painting everything overhead in one color is the cheapest ceiling I know, since there is no framing, no panels and no finishing.
A sprayer covers the joists and the underside of the subfloor far faster than a brush. Tape off the walls first, and consider a color that picks up the wainscoting below.
Expect less light bounce than a white ceiling gives, so plan on extra fixtures.
2. Beadboard Ceiling
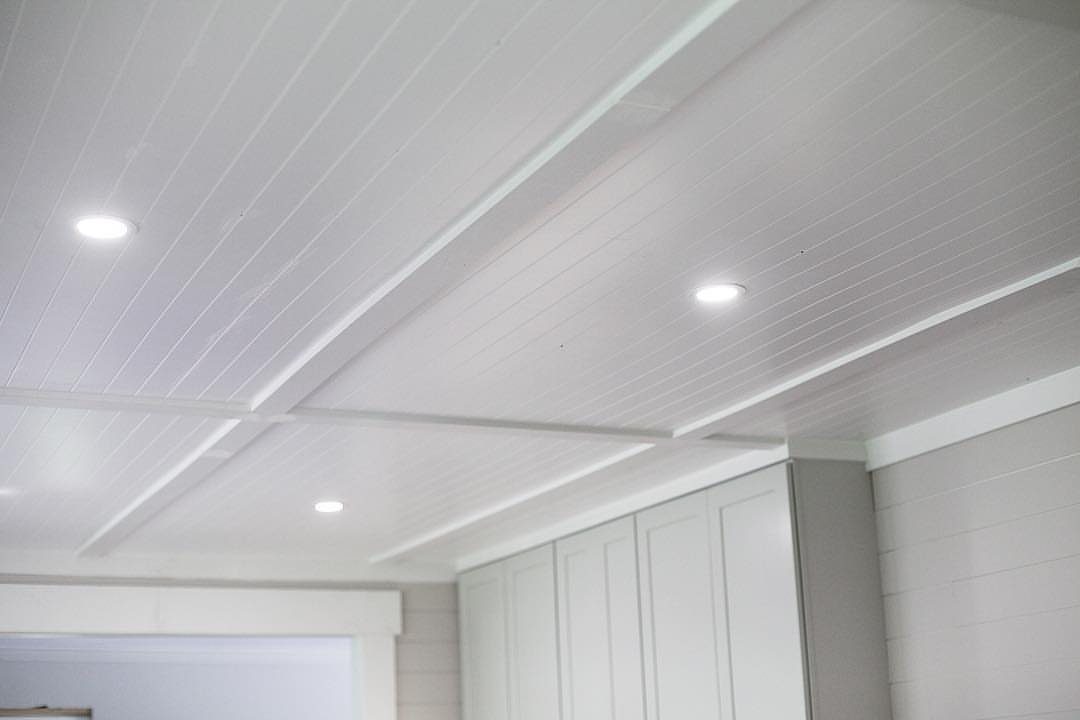
Beadboard overhead gives a basement a cottage feel without much fuss.
White panels with recessed lights and painted beams look at home in almost any house, which is why I keep recommending it to people who worry about style clashing upstairs.
Painting the panels and beams the same white keeps the room bright and makes lower ceilings feel less heavy. Sheets are lighter than drywall, so one person can hold them up while fastening.
Cut the light openings before lifting each panel, not after.
3. Corrugated Metal Ceiling
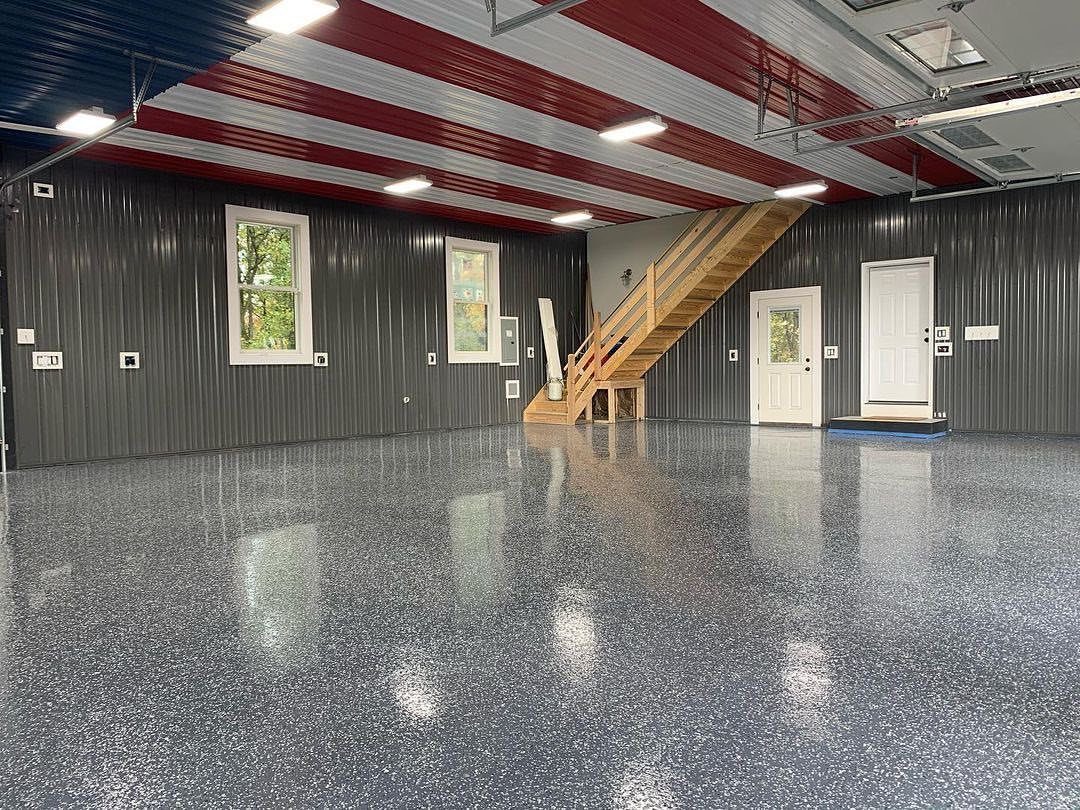
Corrugated metal is a bold pick for a garage, workshop or gym corner, where a ribbed ceiling looks intentional instead of unfinished. Striping it in 2 colors, like red and white, turns a plain ceiling into the room’s main feature.
I would keep the other surfaces in the room plain and low in contrast so the ridged pattern doesn’t compete. A glossy floor underneath bounces the color back, which adds to the effect.
Skip it in a cozy den; the look is industrial, and it stays that way.
4. Tin Ceiling Tiles
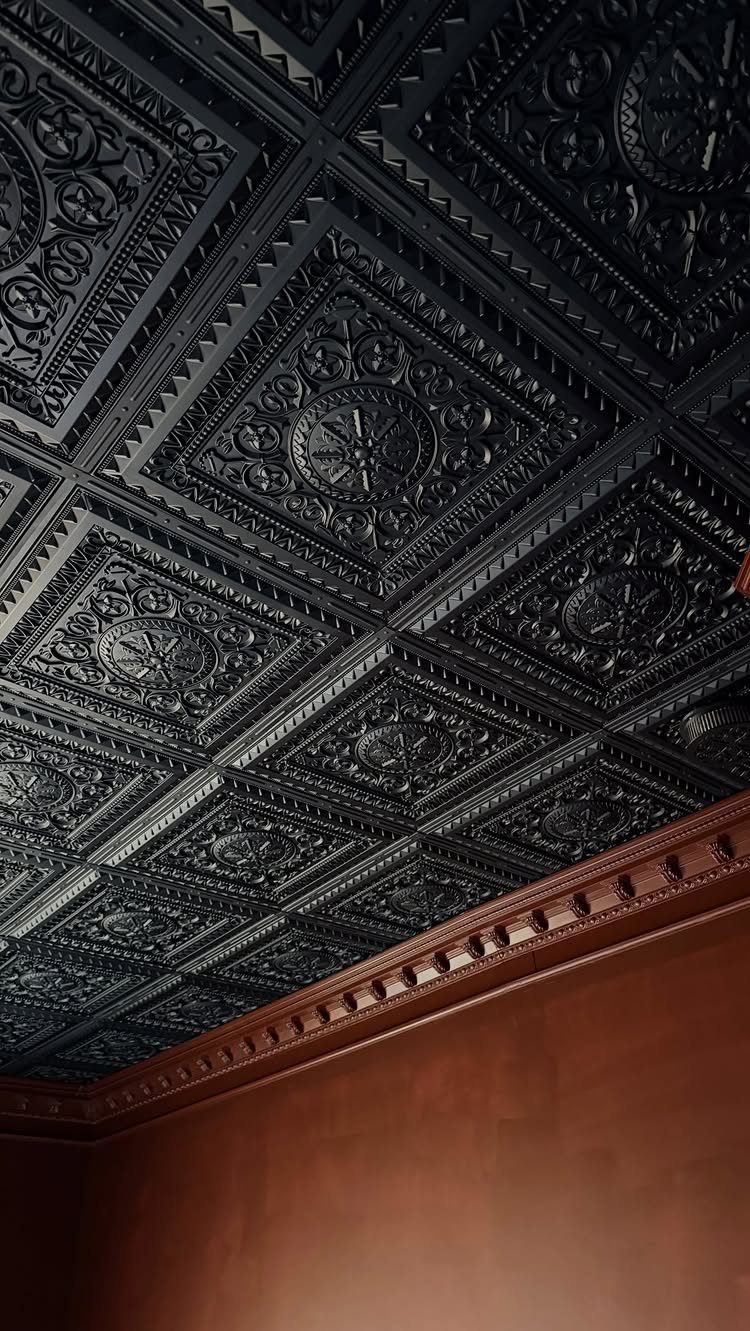
Pressed tin tiles bring embossed pattern and a soft shine to a ceiling, and black is a dramatic way to wear them. Light catches the raised designs and moves across the room as the day changes.
A wood crown molding around the edge finishes the border and hides the gap where tile meets wall.
I like it best in a small space like a bar nook or a reading corner, where the detail stays close enough to appreciate.
Go dark only if you have good lighting; the shine needs something to reflect.
5. Drop Ceiling
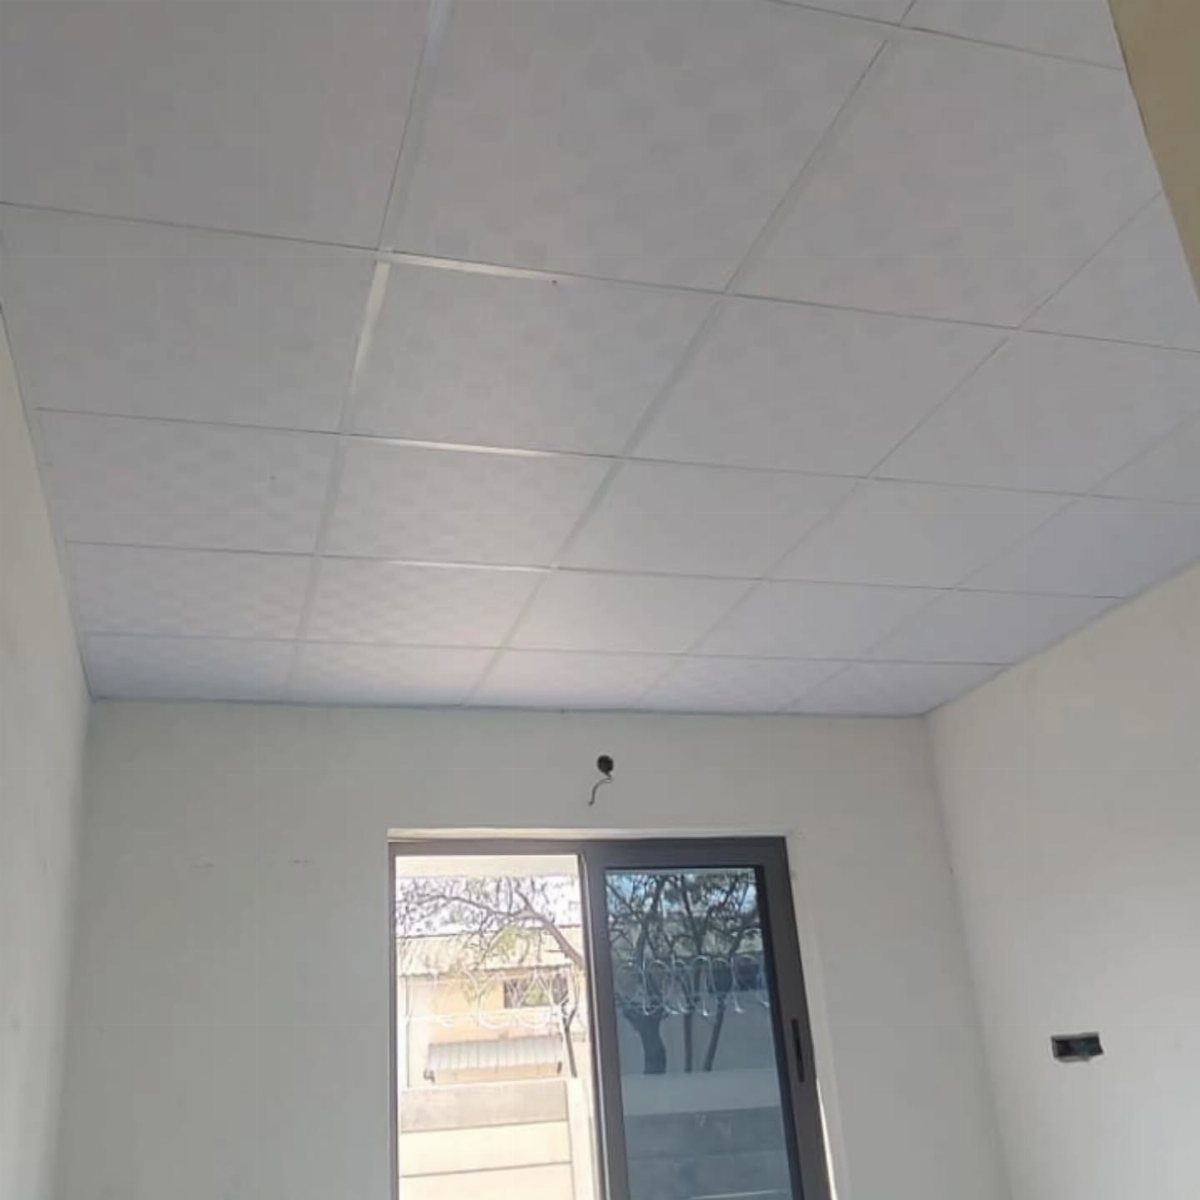
A drop ceiling hangs a grid of metal channels below the joists and rests lightweight tiles in the openings. Any tile lifts out, so reaching pipes, wires or a shutoff valve takes seconds.
That access is the real reason I choose it for basements full of plumbing. Textured white tiles hide stains and cheap-looking seams better than plain ones do.
It costs you some headroom, since the grid hangs below the joists, so measure your height first.
Basement ceilings frequently have unsightly, exposed utilities such as plumbing pipes or electrical wiring, but you can very easily disguise them using a few materials.
6. Drywall Ceiling
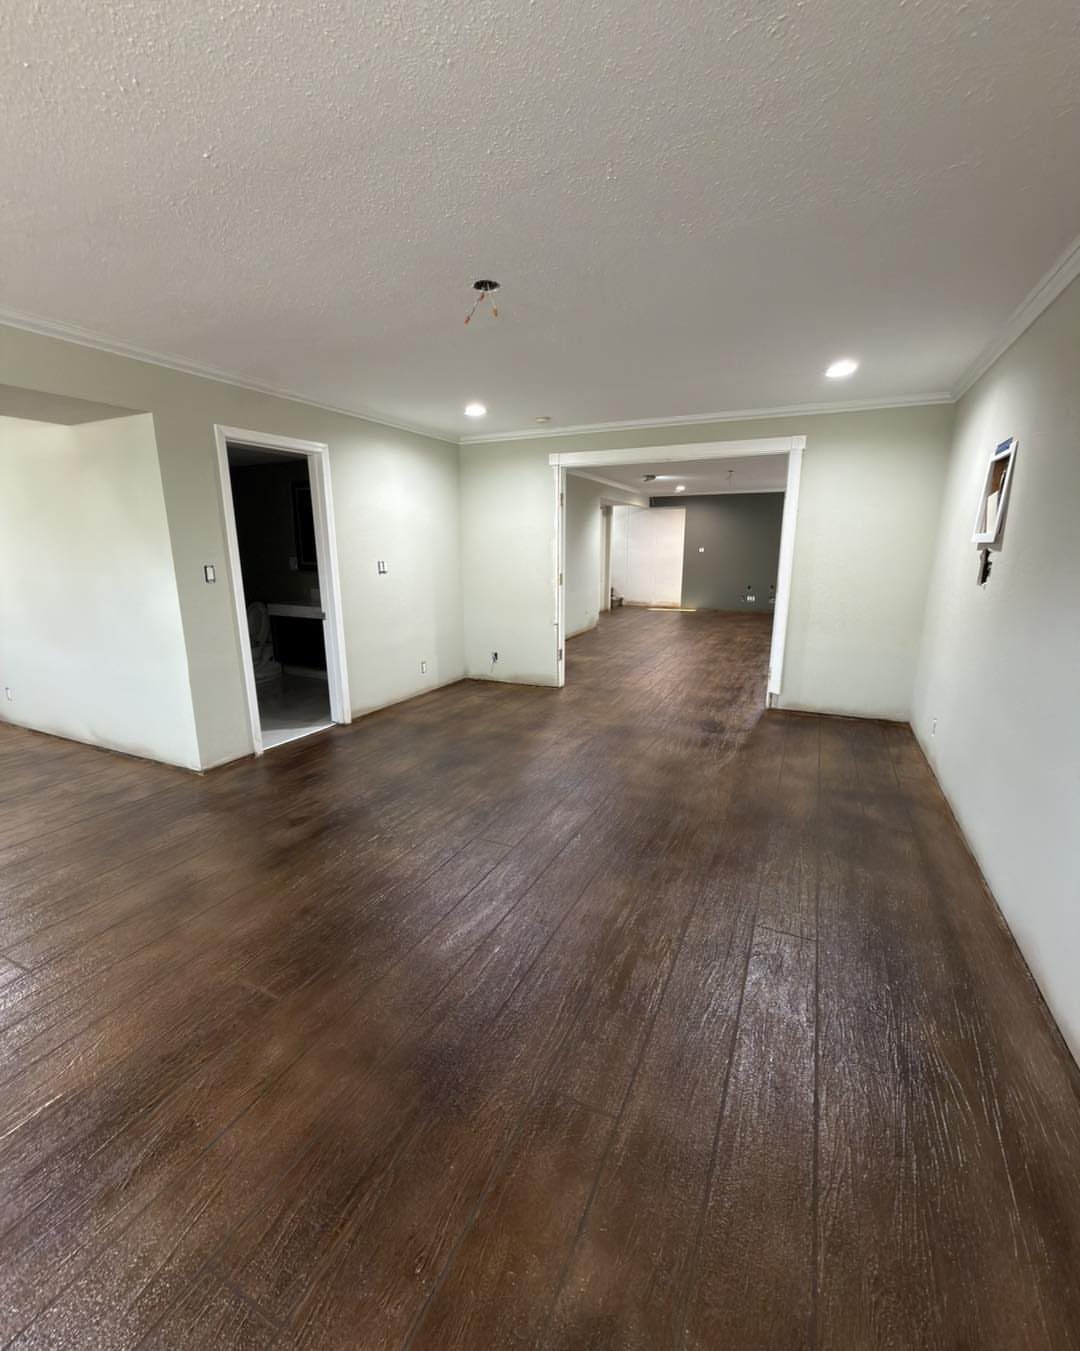
Drywall is the traditional basement ceiling, and a painted white finish is what makes a finished basement feel like part of the house. It matches the rooms upstairs, so nothing looks like an afterthought.
For a weekend DIYer, the hard parts are lifting the sheets and finishing the seams. Rent a panel lift, and sand lightly between coats of joint compound.
The downside is access: once it is up, reaching pipes or wiring means cutting into it. Add access panels where you know you will need them.
7. Plywood Ceiling Panels
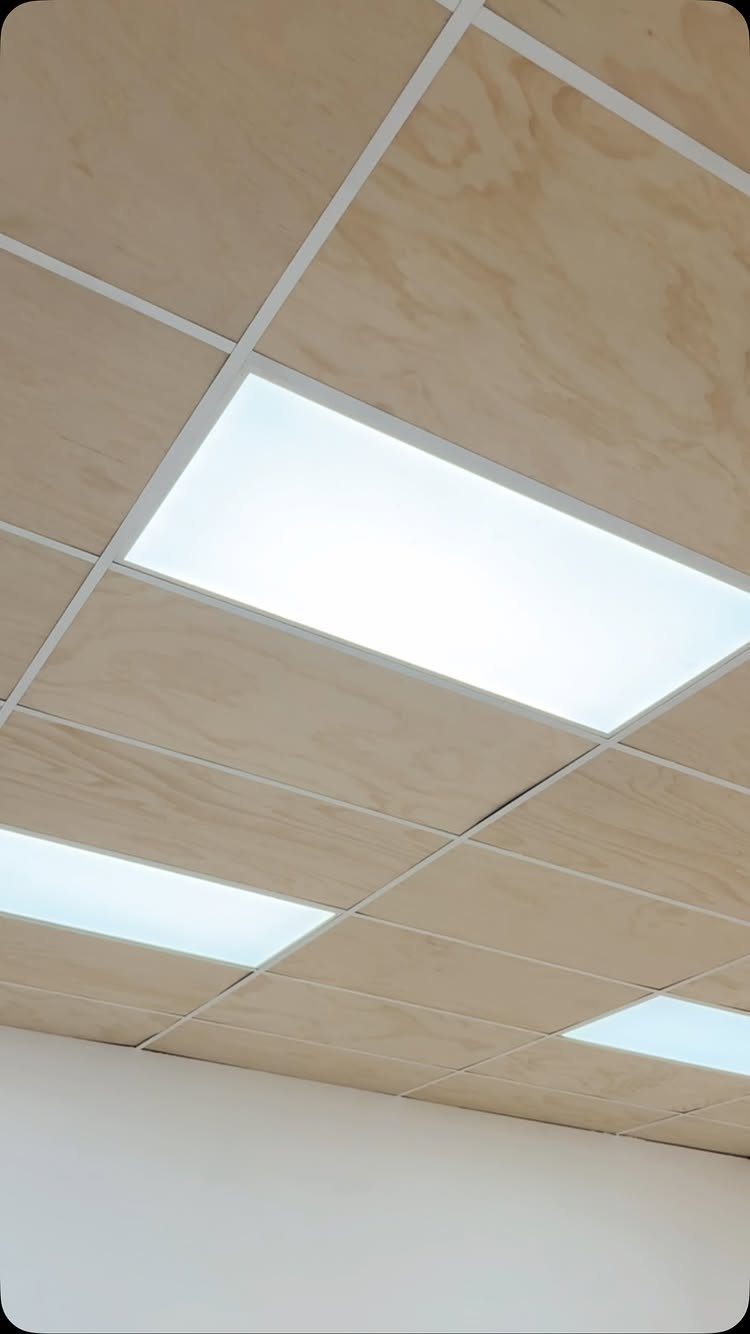
Plywood panels set in a grid give a basement ceiling a warm, rustic look, and a 4×8 sheet costs a fraction of what most finished ceilings run per square foot.
Light-colored sheets keep the room from feeling like a cave, and rectangular LED panels drop into the grid cleanly.
Cut the panels to a consistent size so the seams read as a pattern. Mark light locations before hanging, and leave the grid lines visible rather than hiding them.
It is an economical choice, and the wood grain does the decorating for you.
8. Shiplap Ceiling
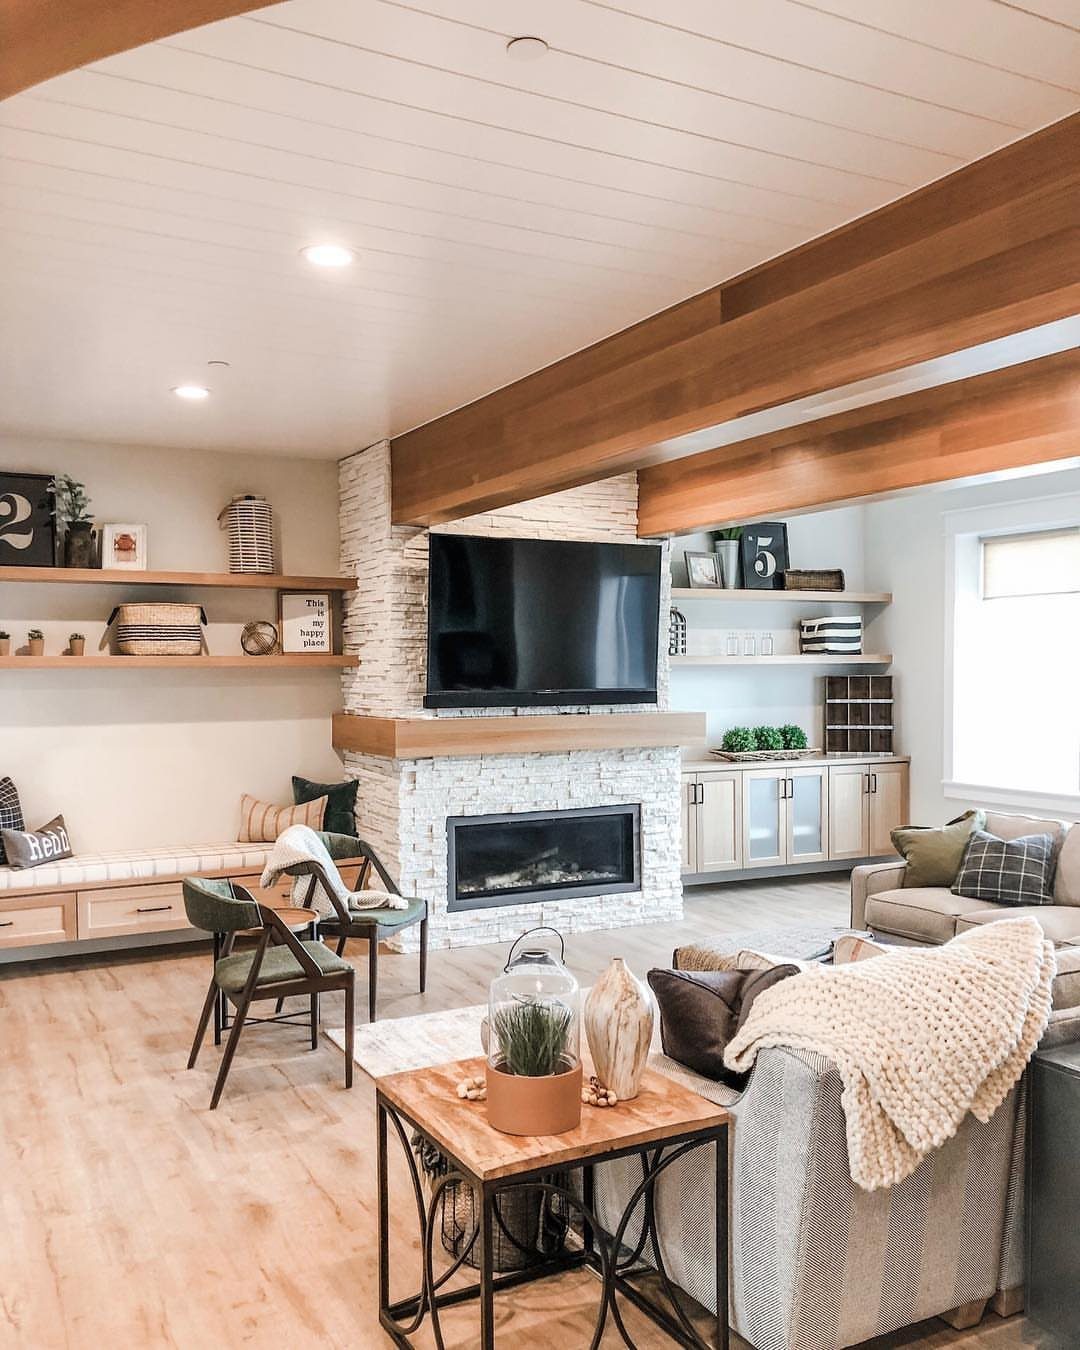
For a modern farmhouse basement, I’d go with white shiplap overhead, since it brightens a low room and keeps the look clean.
The long boards add texture overhead, and painted white they bounce light around a room that has no big windows.
Run the boards in one direction, ideally the way the room is longest, so the lines stretch the space.
Paint the boards before lifting them if you can; brushing overhead is slow and tiring.
9. OSB Ceiling Panels
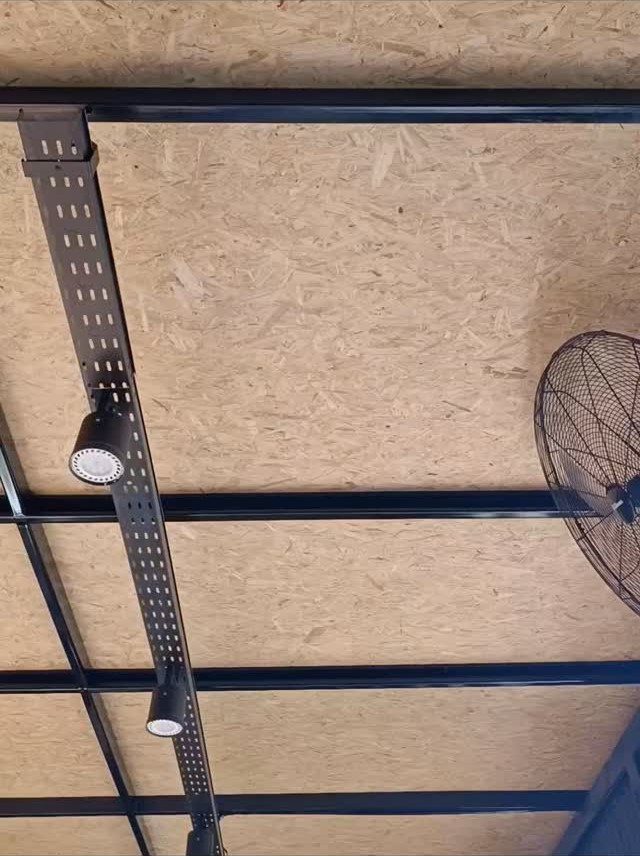
Oriented strand board is the cheapest sheet material you can put overhead, and black metal beams with spotlights make it look planned instead of leftover. The chips and flecks give an industrial texture that suits a workshop or game room.
Spotlights clipped to the beams let you aim light where you need it, which beats a few fixed bulbs. I would leave the panels natural or give them a clear coat; paint hides what makes OSB interesting.
It is a rough look, so skip it where you want something polished.
10. Exposed Wood Joist Ceiling
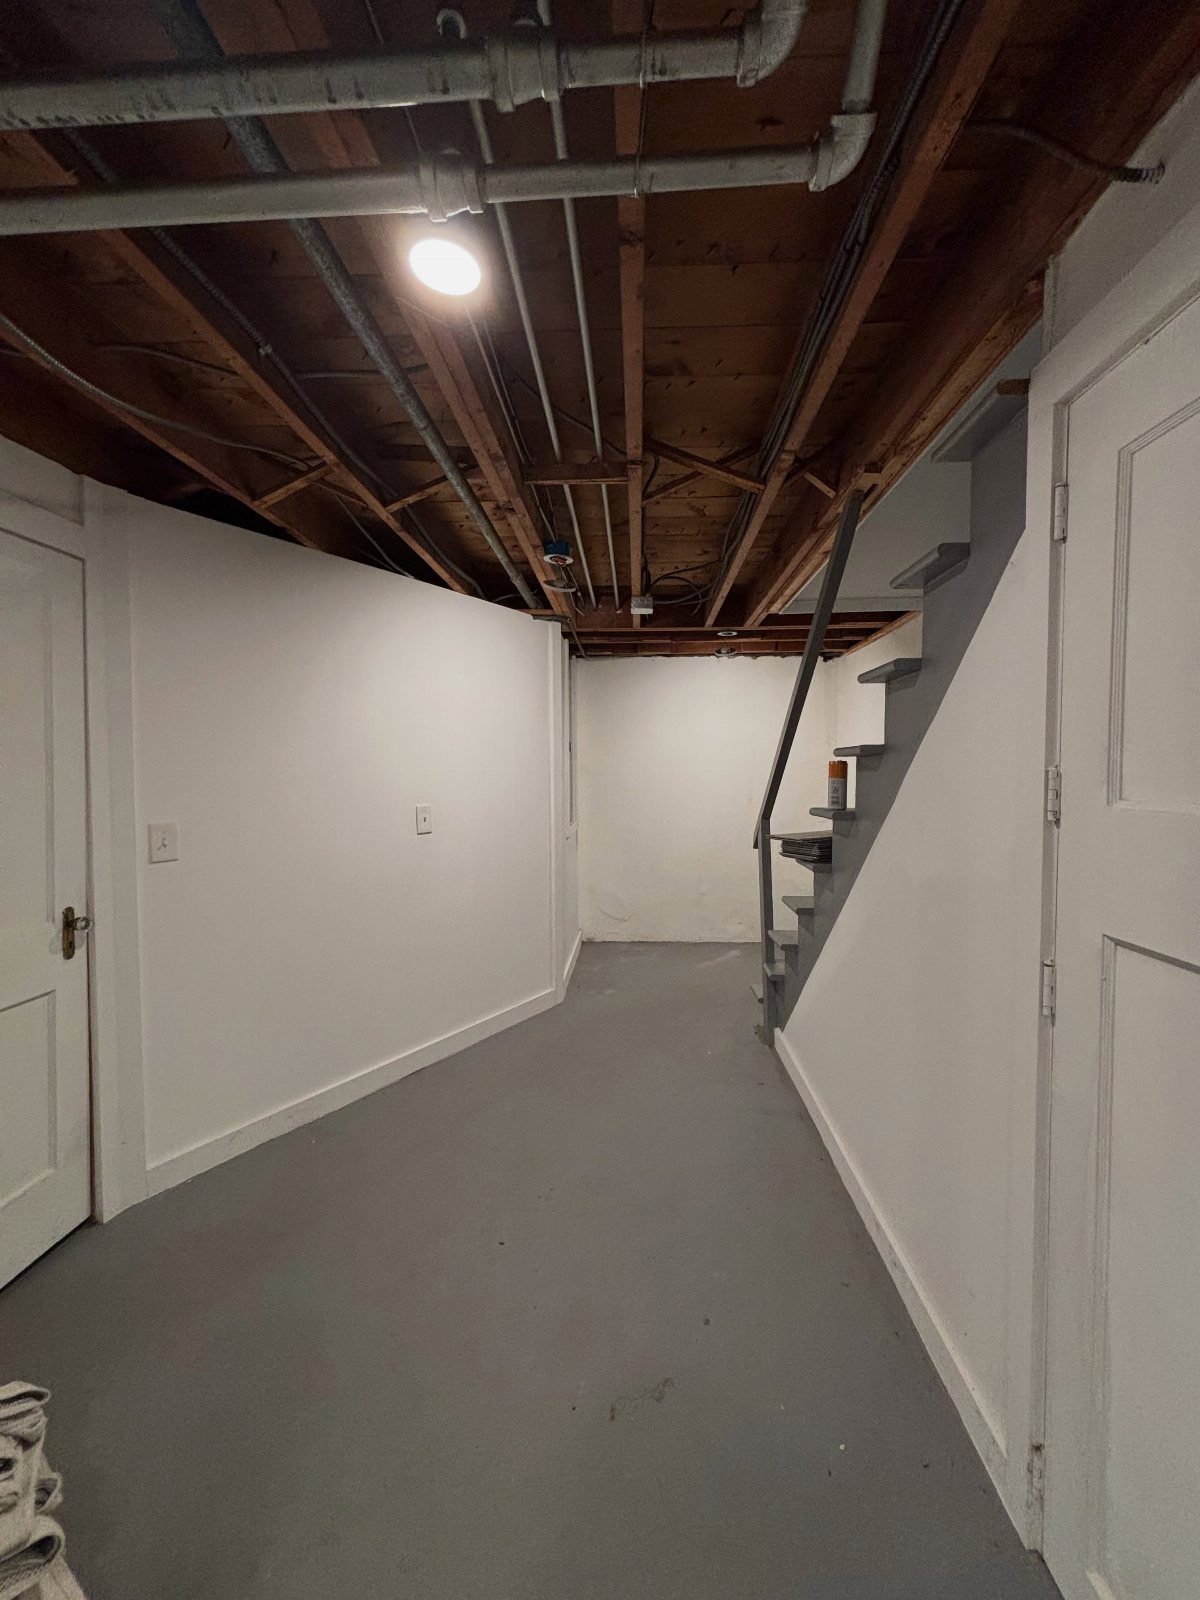
Leaving the floor joists bare is the least work of any ceiling here, and natural wood overhead looks good against white walls and gray flooring. Pipes and a single bare bulb keep it honest and simple.
Cost is close to nothing, and every pipe and wire stays reachable. Clean the wood, dust the joists well, and add a few more fixtures than the one bulb if you plan to use the room often.
Expect the look to be plain and a little raw; that is the appeal.
Choosing the Right Ceiling
Start with 3 checks before you pick a look: how much headroom you have, whether the basement ever gets damp, and which pipes, valves or wires you may need to reach later.
Those answers narrow the field faster than style does.
Then match the ceiling to what is already in the room. Look at the flooring, the wall treatment and the furniture, and choose something that sits comfortably with them instead of competing.
Budget and how you use the space settle the rest. A laundry-adjacent den and a quiet guest room don’t need the same ceiling.
Ceiling Height Considerations
Low clearance changes the math.
Measure from the floor to the underside of the joists at the lowest point, ducts and beams included, not just the average. Whatever you add overhead comes straight out of that number.
Light colors also help a short room feel taller, so keep the finish pale wherever you can.
Basement Ceiling Costs
Published costs run from $1 to $30+ per square foot, and the spread comes from materials, ceiling height and how much utility work needs covering. Lighting updates, framing changes and HVAC adjustments add to the total.
Here are the ranges I would plan around:
- Painted exposed joists: $50–$200 total, covering paint and a rented or bought sprayer.
- Drop ceiling: $2–$6 per square foot, tiles and grid included
- Drywall: $2–$4 per square foot, plus finishing labor
- Wood plank or slat: $4–$10 per square foot
- Tin or PVC decorative tiles: $5–$12 per square foot
If the ceiling is part of a full basement remodel, its share of the budget often shrinks, since labor and overhead get spread across the whole job.
Frequently Asked Questions
What is the cheapest way to cover a basement ceiling?
Painting the exposed joists, pipes and ducts one color is the cheapest route. Budget about $50–$200 total for paint plus a rented or bought sprayer, and there is no framing or finishing to pay for.
Bare wood joists cost even less if you only clean them. Dark paint reflects less light, so add a few extra fixtures.
How can I hide pipes, wires, and ductwork in my basement ceiling?
A drop ceiling hides them and still lets you reach them, because any tile lifts out in seconds.
Drywall covers everything completely, though you would have to cut into it for repairs. You can also paint it all one color: dark shades make pipes and ducts fade into shadow, while white reflects more light.