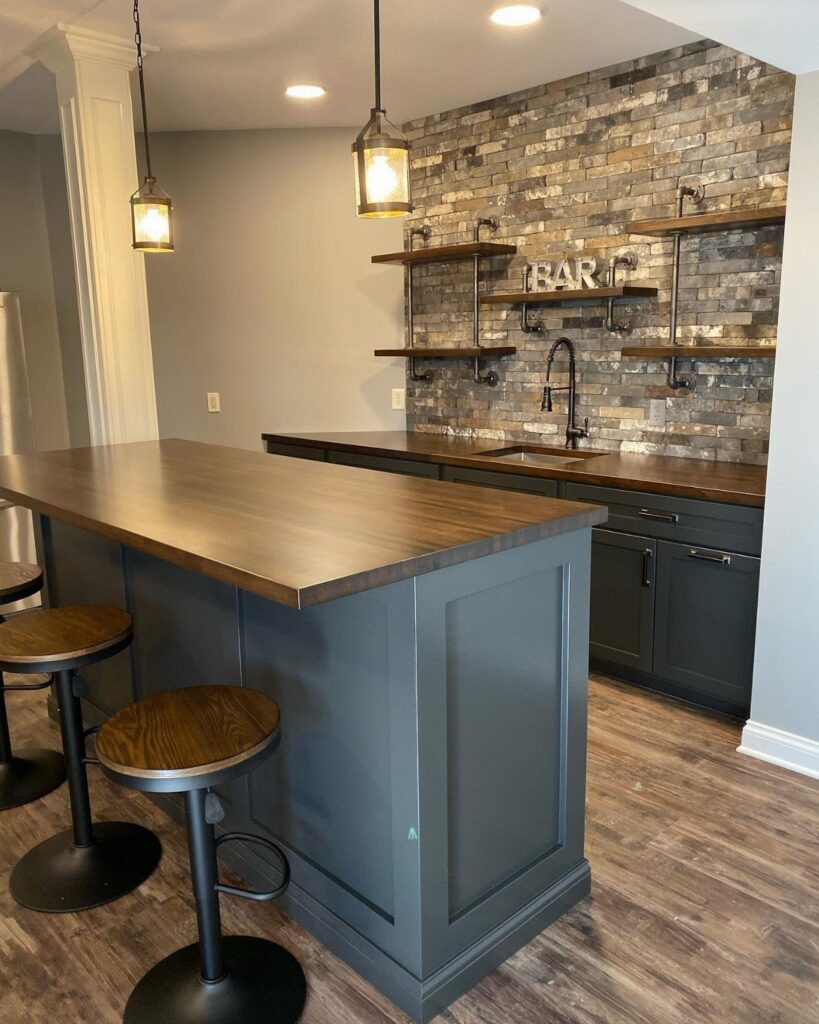
The bars here run from a rolling cart to a full outdoor pergola with plumbing, and the square footage you have decides which direction to go.
A basement bar starts with a plywood frame and cabinet doors, while a wet bar with running water or a stone countertop means checking what the floor joists and walls can handle.
1. Basement Bars
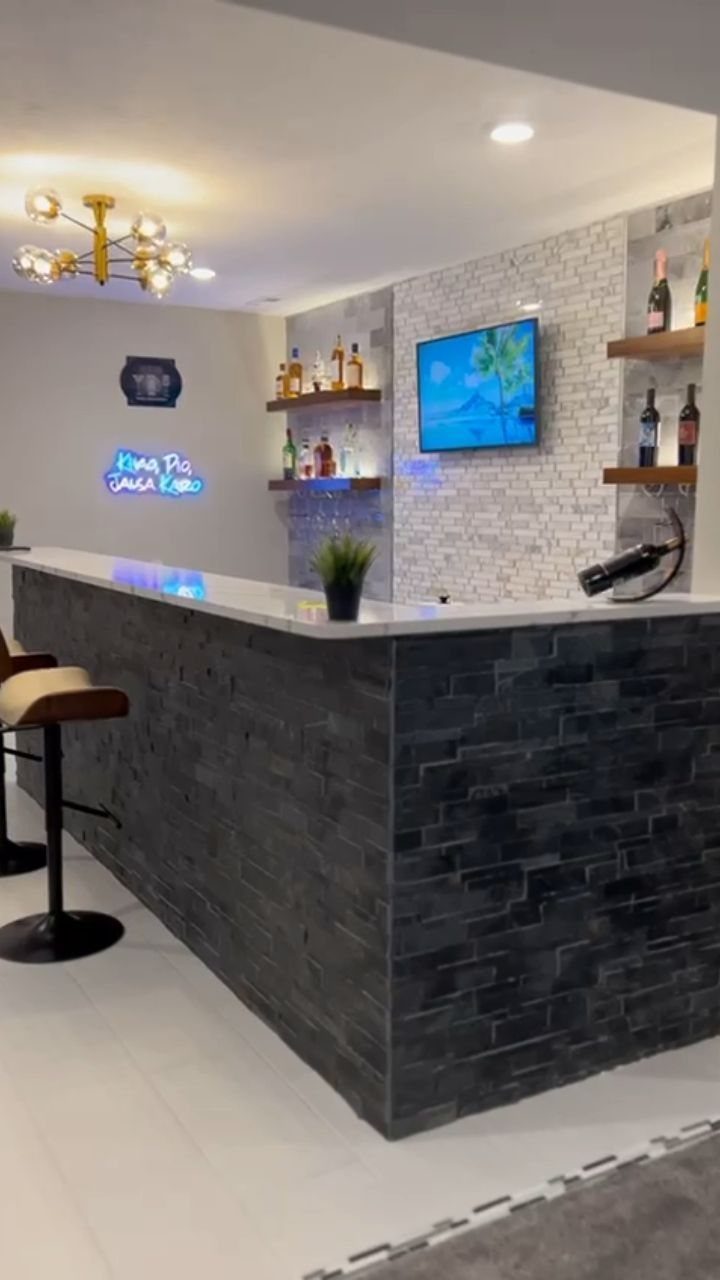
A basement suits a bar because the room already gives you what a bar needs: no windows to fight, and a spot where a little glow looks intentional.
I like pairing that contrast with a single neon sign as the only color accent. Floating bottle shelves also save floor space, and floor space is what a basement bar runs short of first.
2. Cabinets Under the Bar
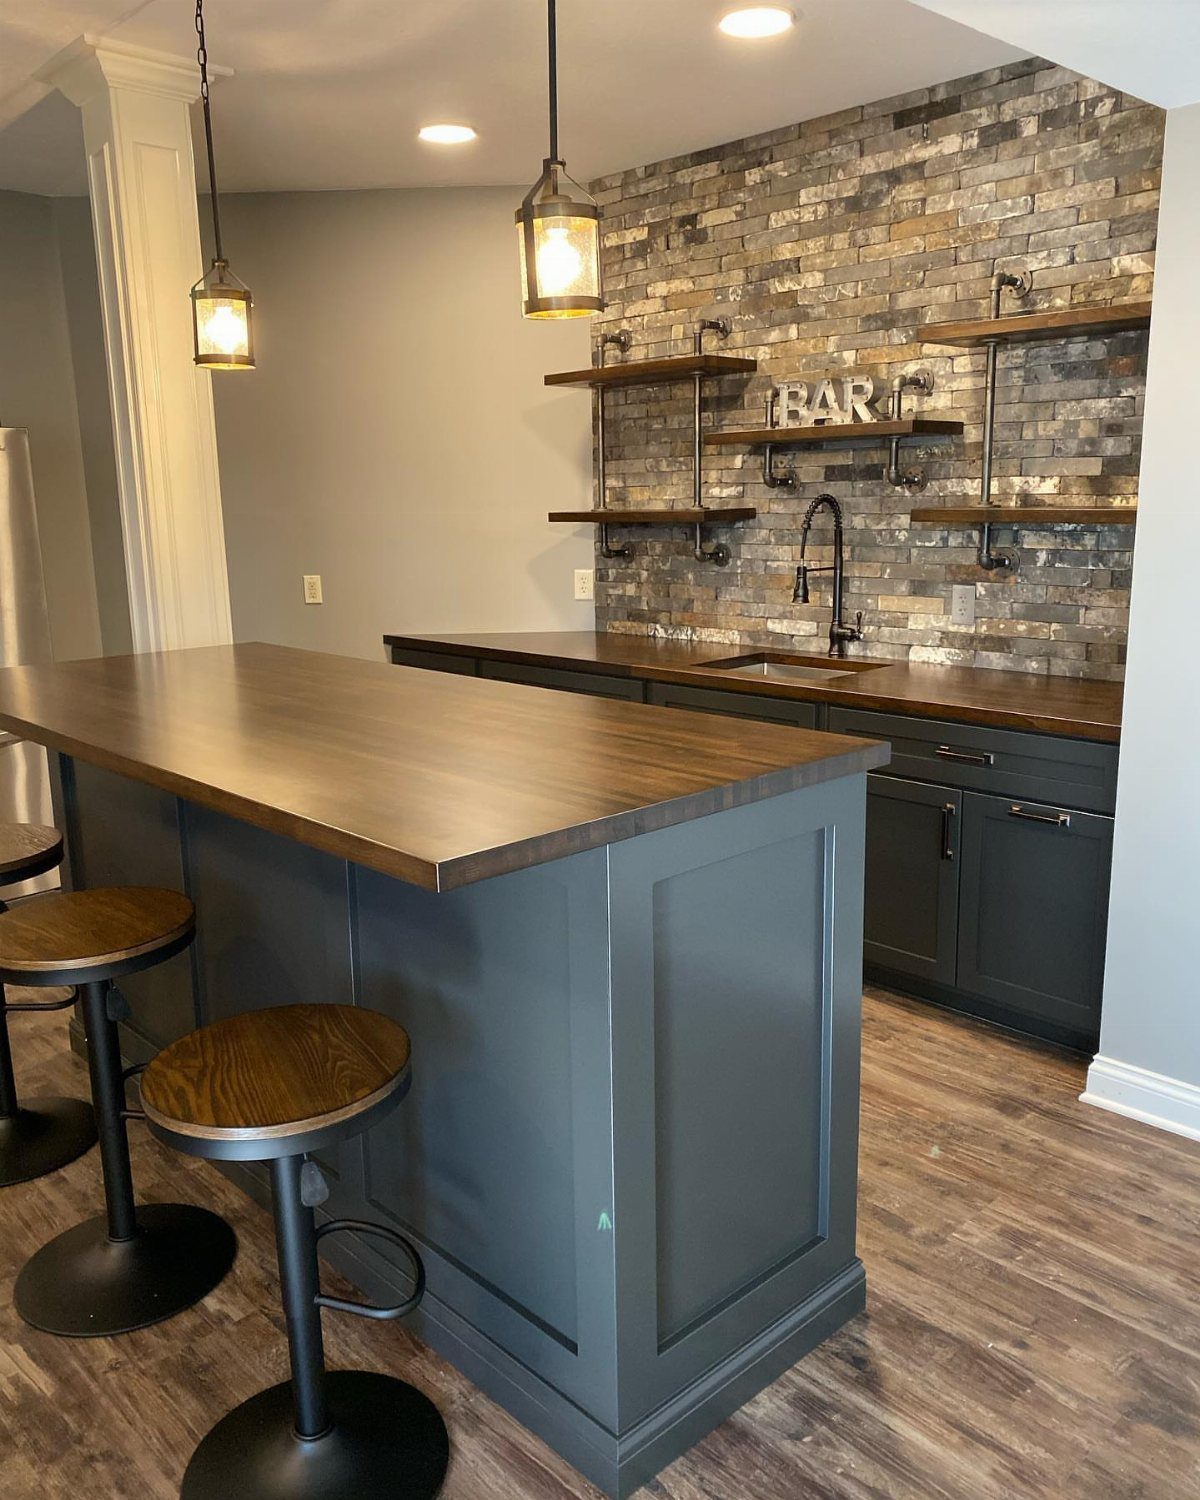
Dark grey base cabinets under a wooden countertop give a bar its weight, and they hide the clutter you don’t want on display: extra glasses, mixers, and bar tools.
Grey stays calm next to warm wood, so the top gets to be the focus.
I’d choose doors over open shelving below the counter. Open shelves look good for a week, then collect dust and half-empty bottles.
Leave room for stools, and make the overhang deep enough that knees fit comfortably.
3. Picking the Perfect Countertop
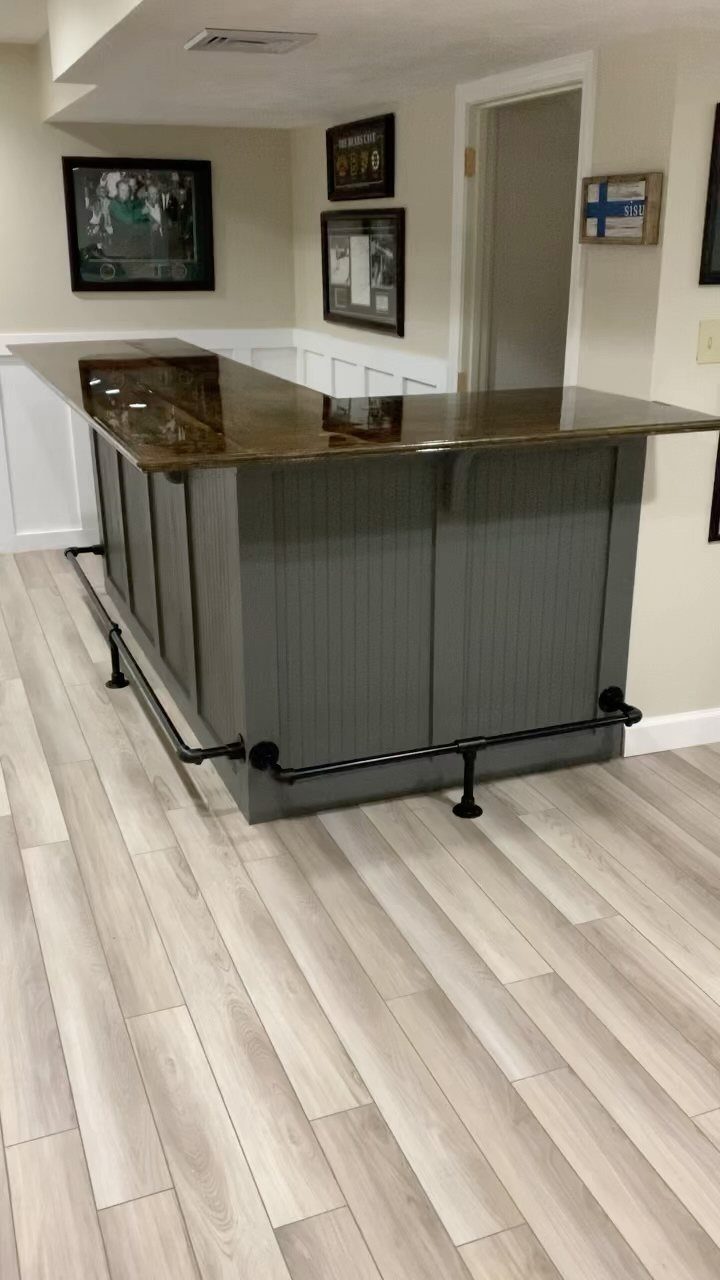
The deep, glossy surface reads as a real bar top, and the pattern in the stone hides small spills and rings better than a flat solid color does.
A black pipe footrail along the base is a cheap addition that makes the whole thing feel like a pub.
Granite is heavy and costs more than laminate, so I’d choose it only if the frame underneath is built to carry it.
4. Build the Frame
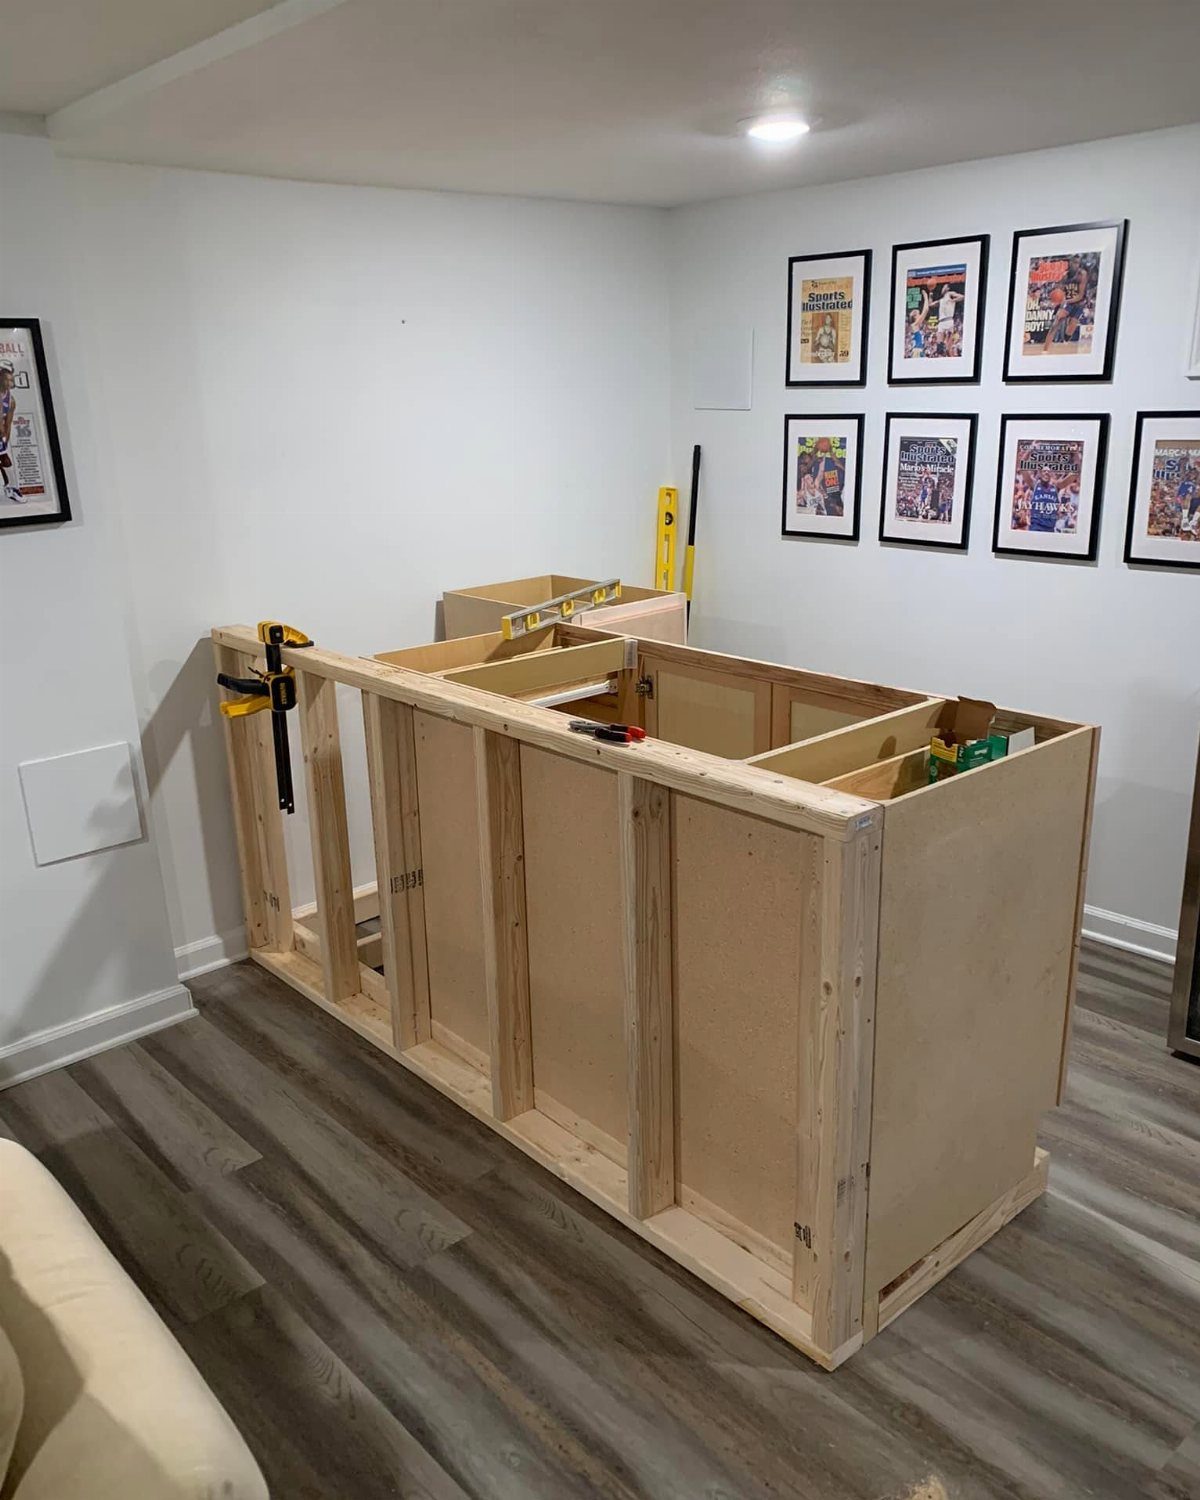
Plywood makes a fine bar frame, and it’s what I’d use for a first build. Everything else, the cabinet doors, the top, the trim, hangs off this skeleton, so square corners and solid joints matter more here than anywhere.
Build it on a flat floor and check each corner with a framing square before fastening. Screws hold better than nails in plywood, and a drill is the only power tool you need.
Leave the frame bare until it’s fully assembled, then finish it.
5. Stock Your Bar
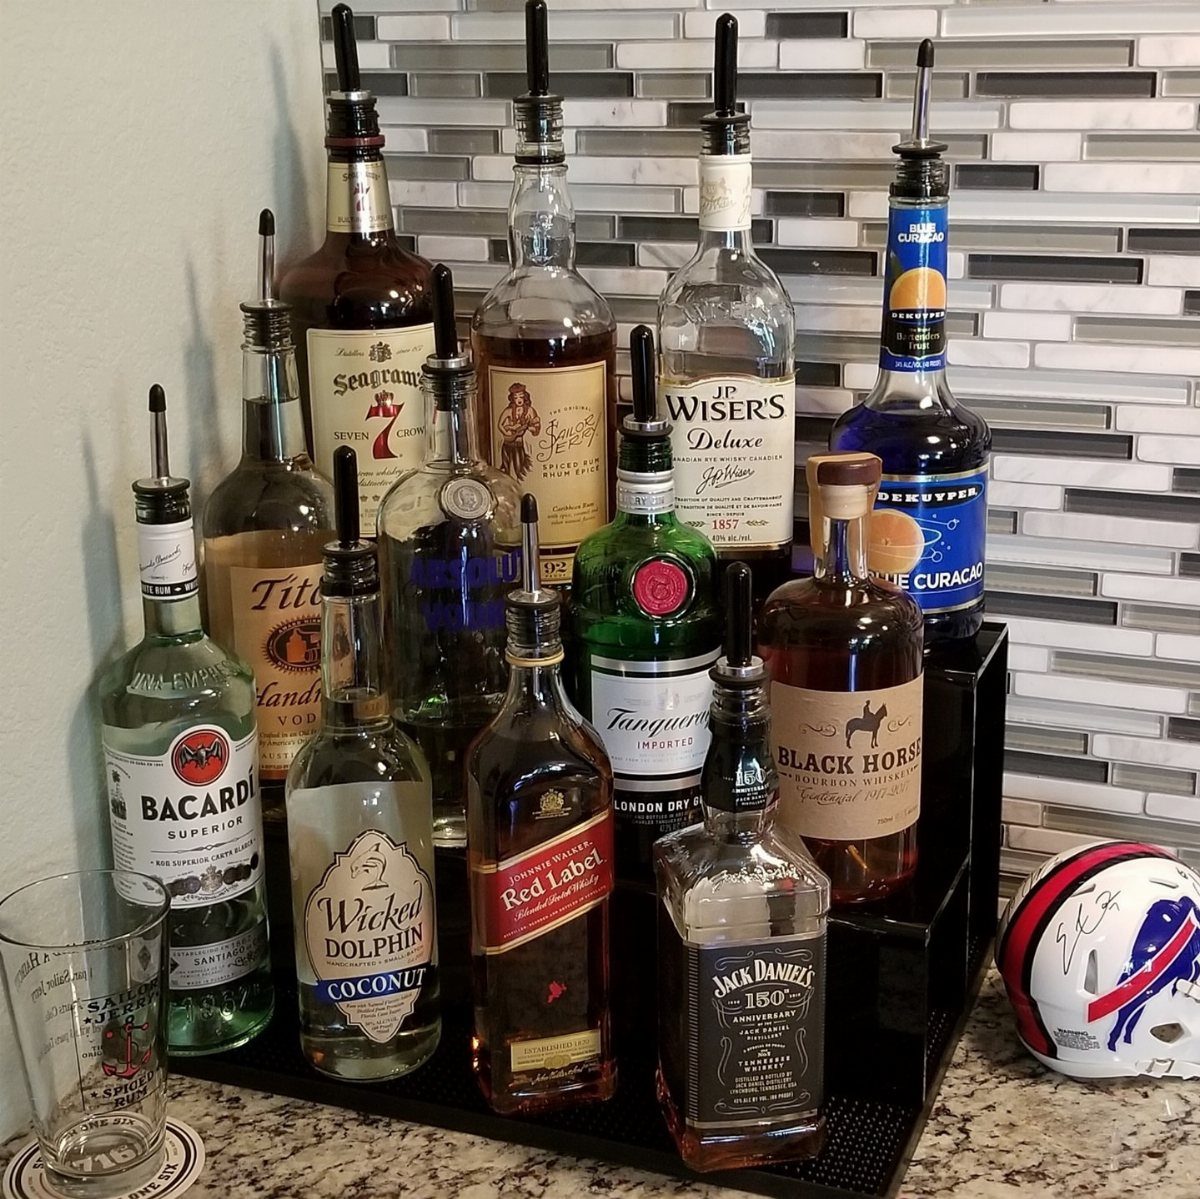
Pour spouts on every bottle turn a pile of liquor into a working bar. Bacardi, Jack Daniel’s, and Tanqueray cover rum, whiskey, and gin, which is a sensible base for most mixed drinks.
Keep the bottles together on a tray so a spill stays contained and the counter stays clear. Add a shaker, a jigger, and a strainer before buying a fourth bottle.
I’d rather own a few bottles you actually use than a shelf of them that gather dust.
6. Wet Bar
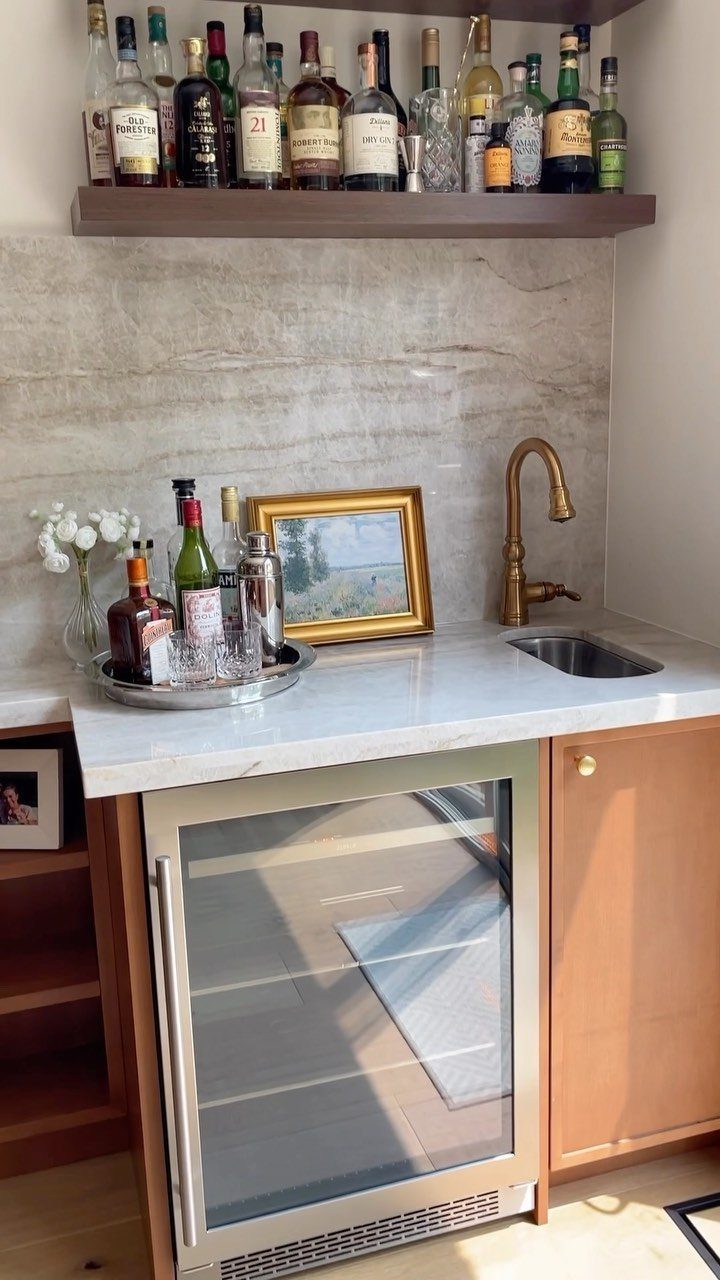
A small sink changes how a bar works: rinse a shaker, wash a glass, and never carry anything upstairs.
The cost is plumbing.
Water supply and a drain need to be close, so this is the version that depends most on where your walls and pipes already are. Without that access, a dry bar is the cheaper route.
7. Mobile Bar Cart on Wheels
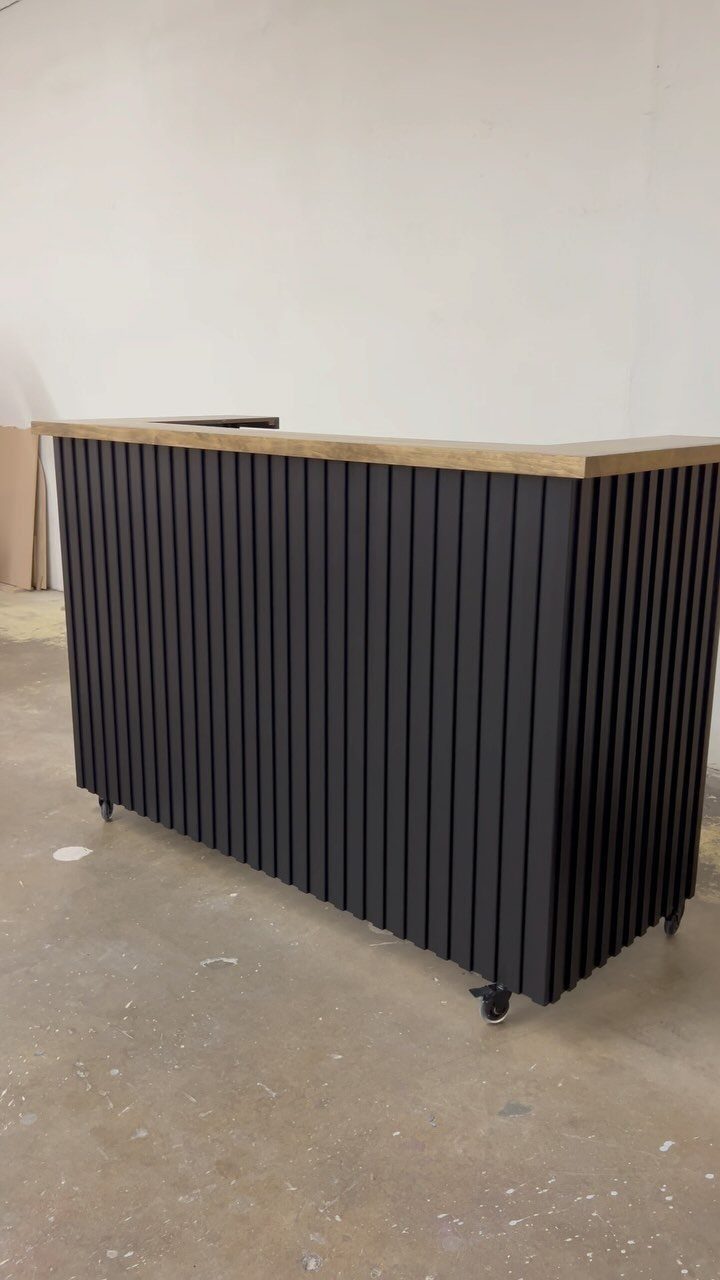
A bar on caster wheels solves the problem of a room that has to do other jobs. Roll it out for a party, then push it against a wall the rest of the week.
The slatted black base keeps the weight visual low while the light wood top gives you a real prep surface.
Choose locking casters, at least on 2 wheels, so a shaker doesn’t send the whole thing drifting across a concrete floor.
I’d keep the top uncluttered and store the heavy bottles low.
A flip-up lift gate in the bartop on one end provides pass-through access and can even function as a wait station if you want to get really fancy in your hosting.
8. Backlit Floating Bottle Shelves
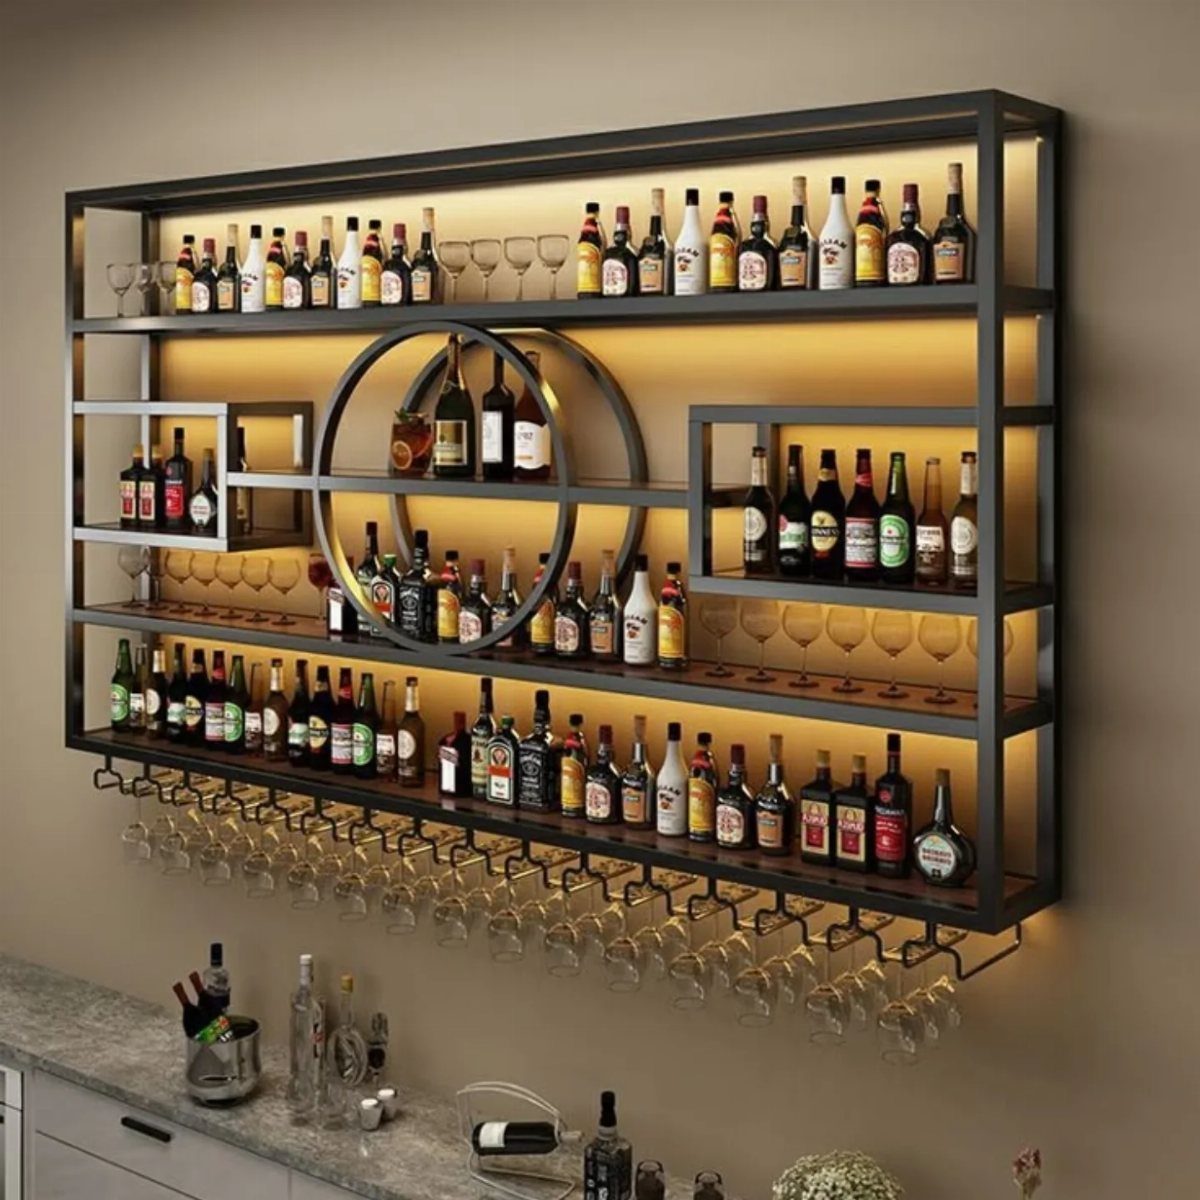
Black metal shelves with a strip of warm backlight make a few bottles look like a deliberate display. Mounted above a counter, they use wall space and leave the surface below free for mixing.
Hanging the wine glasses from the shelf edge is the part I’d copy first, since it frees up cabinet room and keeps stems within reach.
Lit bottles you like looking at belong on the shelf, while the rest can go behind doors.
9. Stacked Stone Bar Base
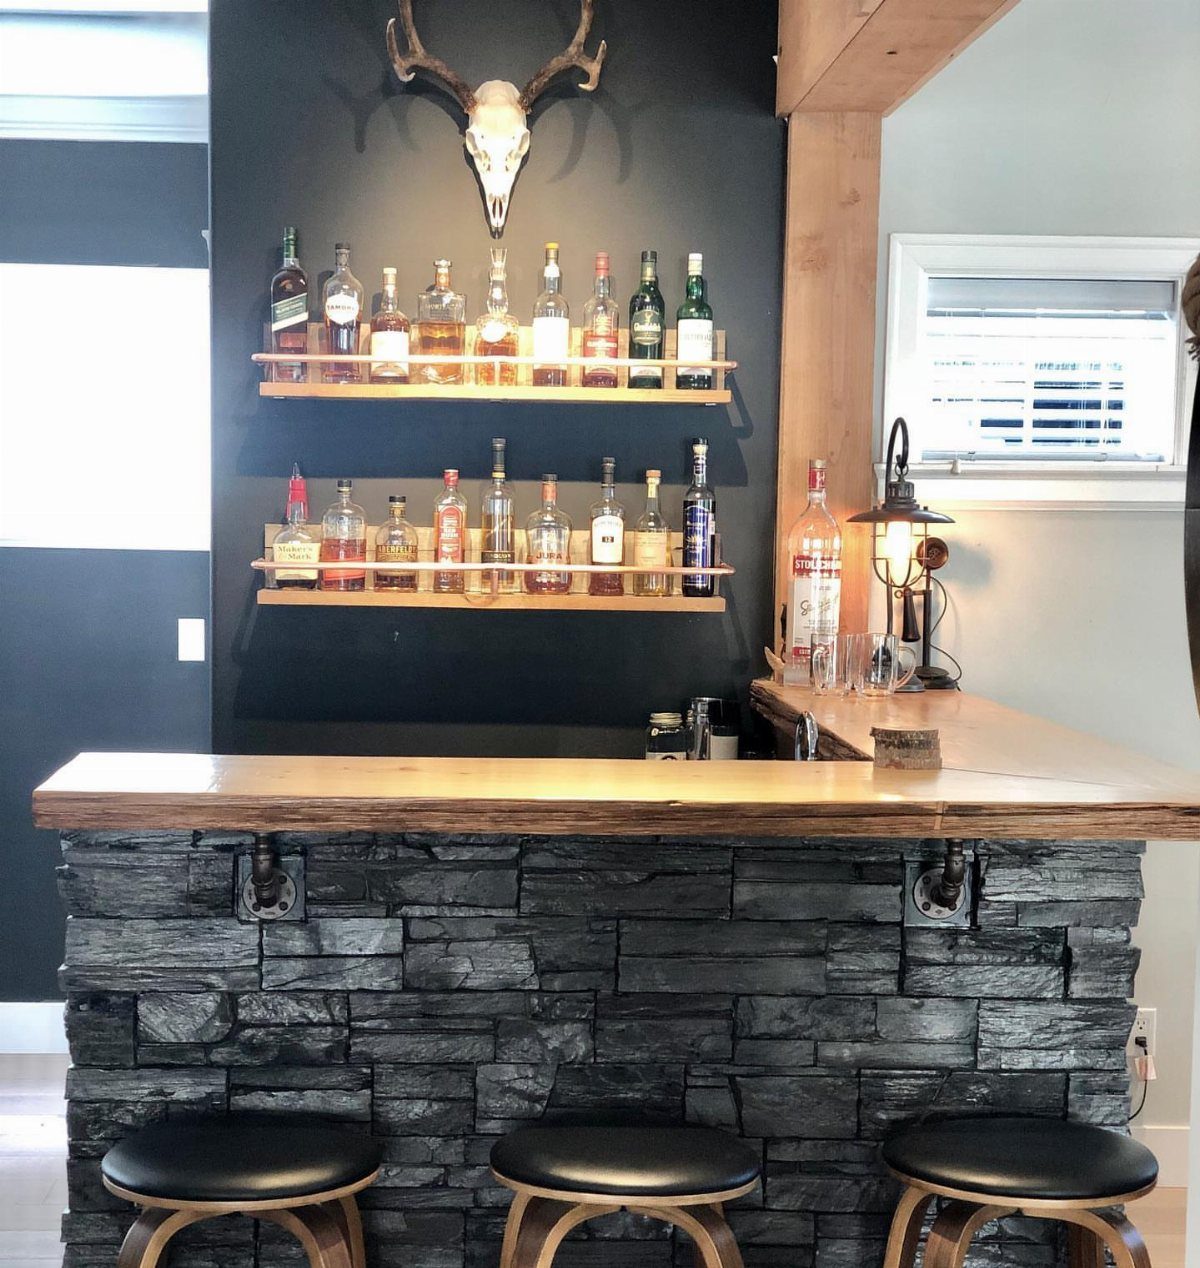
A dark stacked stone base gives a bar mass that painted drywall never will, and a thick wood top sits well against it. Together they read as one solid piece, which suits a black wall and leather stools.
Stone veneer is the budget route compared with full stone, and it’s what I’d look at for a weekend project. Real stone is heavy, so the framing behind it has to be built for the load.
Pick one texture for the base and let the top be the smooth contrast.
10. Rustic Live-edge Wood Bar
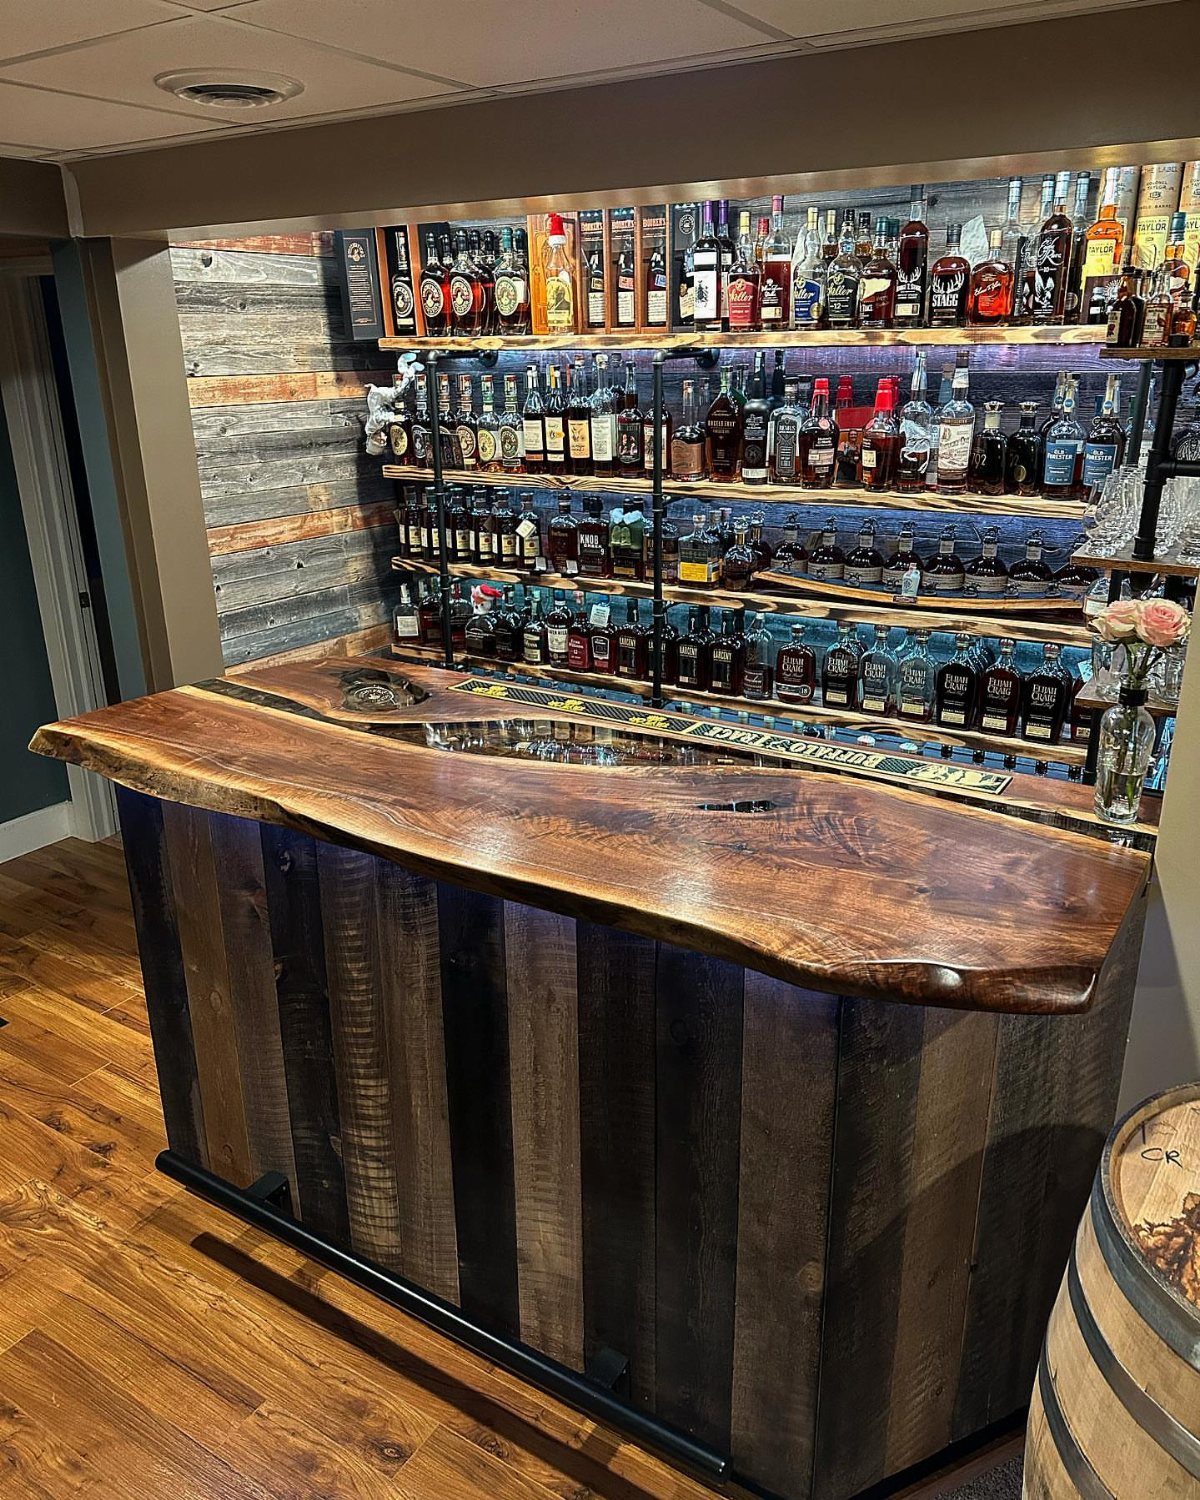
A live-edge top keeps the natural outline of the tree, so no 2 bars look alike. Against a wood-plank wall and a dark paneled front, it makes a room that feels warm and a little rugged.
Keep the open shelves behind the bar to three, so the bottles stay the decoration instead of competing with the grain.
Live-edge slabs cost more than standard lumber, and the price climbs with size. Sealing the surface well matters, because a bar top gets wet constantly.
11. Shipping Container Bar Conversion
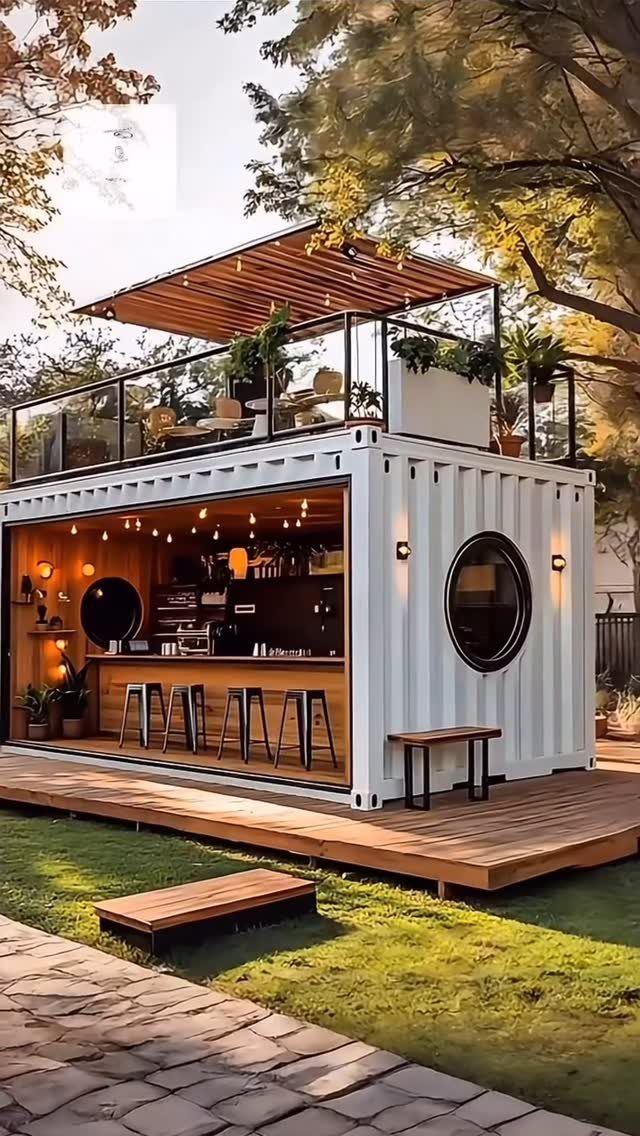
A shipping container turns a backyard into a bar with a serving counter on one side and a lounge on the roof. The pergola up top gives the deck some shade and a reason to climb the stairs.
This is the biggest project in the list, and not a weekend one. Delivery, placement, and cutting the openings are the hard parts, so I’d treat it as a job for a crew, not a weekend project.
Wood inside warms up the metal shell nicely.
12. Outdoor Pergola Bar and Kitchen
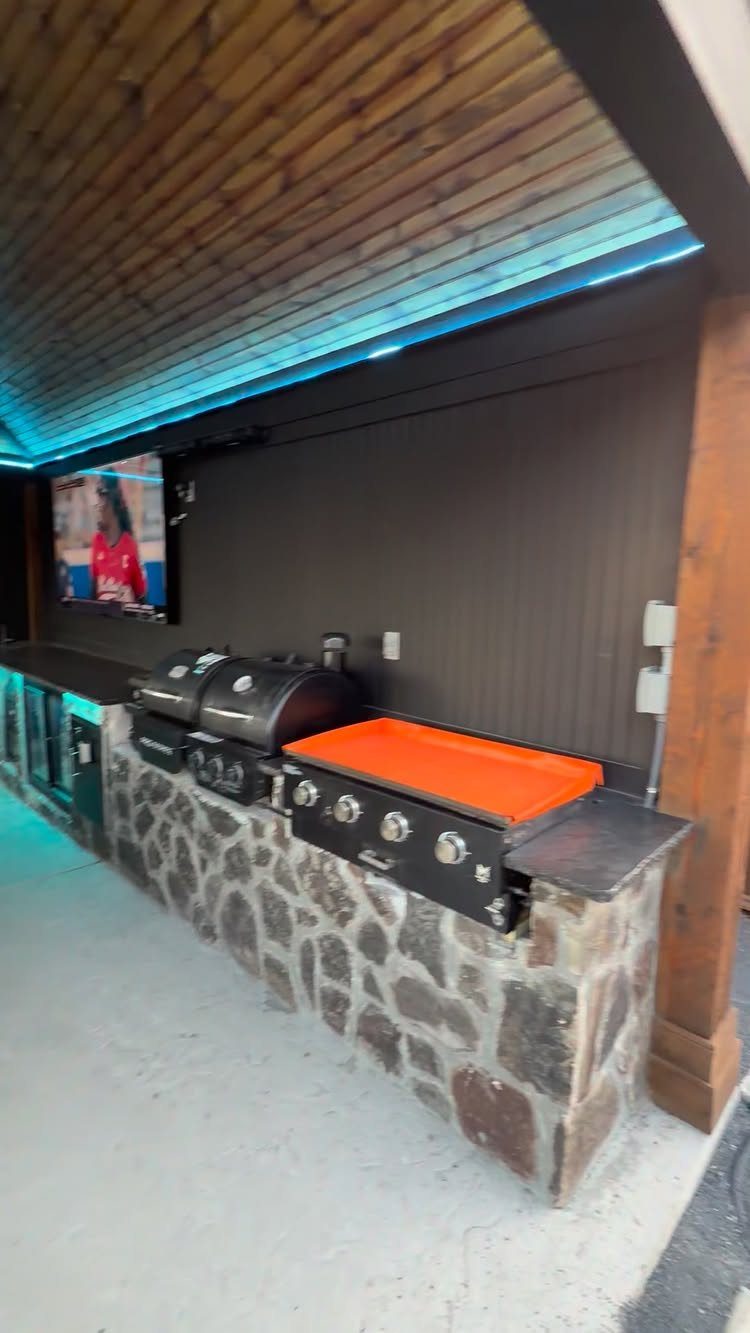
Putting the bar and the grill in one stone-based run means the cook never leaves the party. A griddle beside the grill covers breakfast and smash burgers, and a mounted TV handles game day.
The blue LED strips along the pergola ceiling are cheap to add and make the space usable after dark. I’d choose a warmer color if you want it to feel less like a sports bar.
Plan gas, power, and drainage before you pick finishes. Those are the pieces that are hard to move later.
Assessing Space Constraints
Before choosing a style, measure the width, depth, and height of the spot. Ceiling height decides whether you can fit a shelf above the counter, and it’s the number people forget.
Check the path in, too. Doorways and stairways have to be wide enough to get a frame, a top, or a finished piece through, and that catches people more often than you’d expect.
Then look at what’s already in the room: outlets, cable or Wi-Fi hookups, water lines, and a sump pump if you have a basement.
A pump can’t be blocked off, and a bar is easier to plan around an outlet than to move one.
Sketch it on paper with those marked before you buy anything.
DIY Vs. Hiring a Contractor
Building a home bar comes down to three paths: assemble a flat-pack unit, build a custom one with your own hands, or pay a contractor to do the custom work.
4 things sort them out: free time, how handy you are, budget, and how soon you want it done.
For a first project, I’d go with the one that matches your skills today, not the ones you hope to have by the weekend.
If you build it yourself, count your helpers and your tools.
Friends will often pitch in for an open invitation to the finished bar, and a second pair of hands makes a heavy top far easier. Make sure you can get the tools and materials, too.
Budget Considerations
Price the project in 2 columns: materials, then any appliances. Add the appliances early, since a fridge or sink can outweigh the lumber.
Building it yourself from lumber and plywood often runs cheaper than a store-bought unit, and you set the dimensions and the finish.
The savings shrink if you have to buy tools or redo mistakes, so check that before you count on them.
A ready-to-assemble bar saves time, and a contractor saves effort, but both cost more. Set your total first, then pick the route that fits inside it.
Frequently Asked Questions
Is it cheaper to build a bar or buy one?
Material costs stay lower when you size and finish it yourself. Tool purchases and material waste can eat the difference quickly.
What should a home bar include?
Start with a sturdy frame and a counter with room for stools, then add doors below for hiding glasses, mixers, and tools. Pour spouts, a shaker, jigger, and strainer are the baseline tools.
Buy those tools before a fourth bottle. A foot rail or a lit bottle shelf adds the pub feel.